Ultimate Guide: How to Connect Oculus Quest 2 to PC for Seamless VR Gaming

If you’re looking for an incredible virtual reality gaming experience with your Oculus Quest 2, then learning how to connect it to your PC is the key. Connecting will give you access to a huge library of VR games and improved graphics capabilities on top of what’s already available in this cutting-edge headset technology. This guide provides all the info needed about connecting your Oculus Quest or Quest 2 to PC so that gamers can make full use of its virtual desktop and manage their own game collection right from home!
Key Takeaways
- Prepare your Oculus Quest 2 and PC to connect for a seamless VR gaming experience.
- Establish a wired connection with an official Oculus Link cable or USB-C 3.0 cable, or set up Air Link for wireless play on both headset and PC.
- Manage your game library & device settings in the Oculus App, then troubleshoot any common issues with resetting the headset & checking requirements if necessary.
Preparing Your Oculus Quest 2 and PC for Connection

Verify that your headset and computer meet the specifications required for a successful connection before jumping into PC VR gaming with an Oculus Quest 2. Start by ensuring compatibility between your MetaQuest Headset and your PC. Check either on the manufacturer’s website or visit the Link Compatibility page to confirm system requirements are met.
Subsequently, download and install the software known as Oculus Desktop, otherwise known as The Oculus PC App, in order to hook up your device using wired (with OculusLink Cable) or wireless (AirLink). This feature grants access to explore beyond what a standalone quest can provide via direct interaction with a full library of experiences available only through all-inclusive cloud computing equipment like PCs which offers an intensified virtual reality experience compared to other alternatives out there!
Establishing a Wired Connection Using Oculus Link Cable

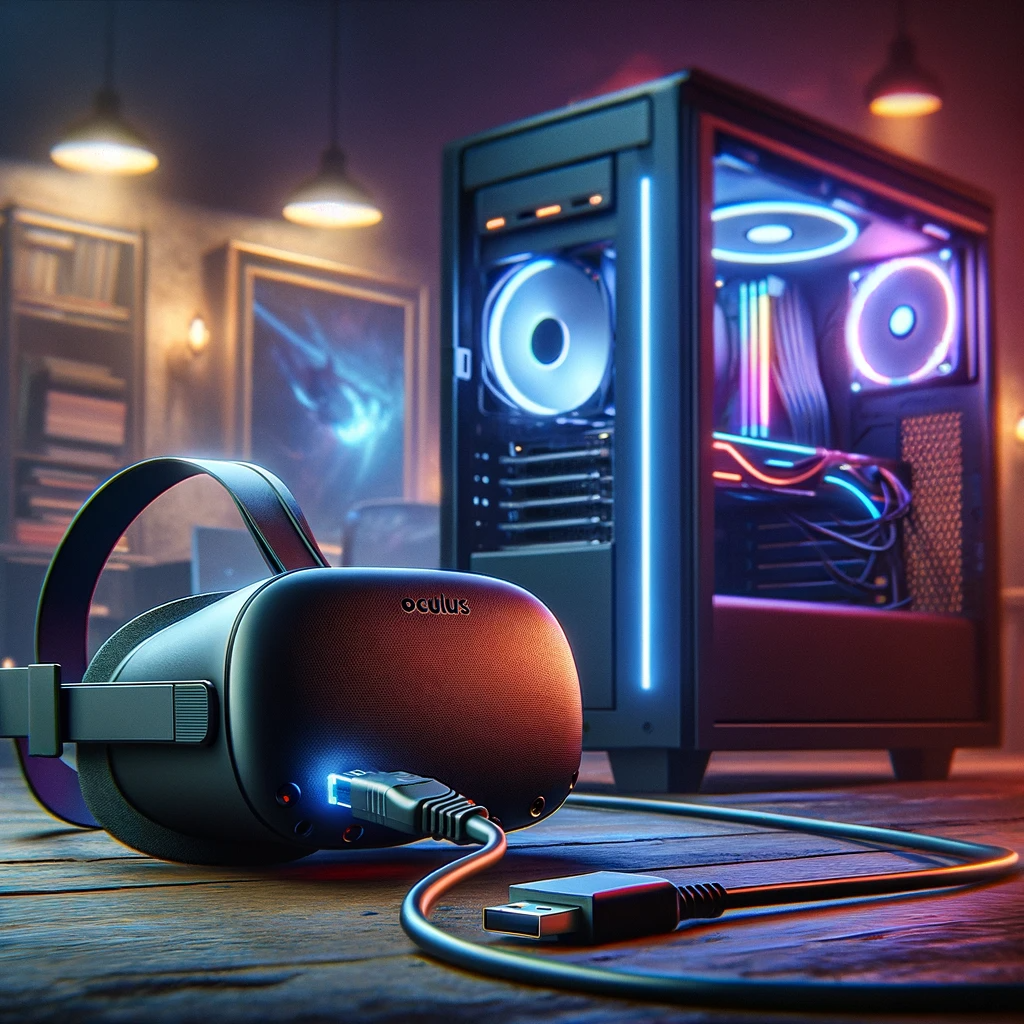
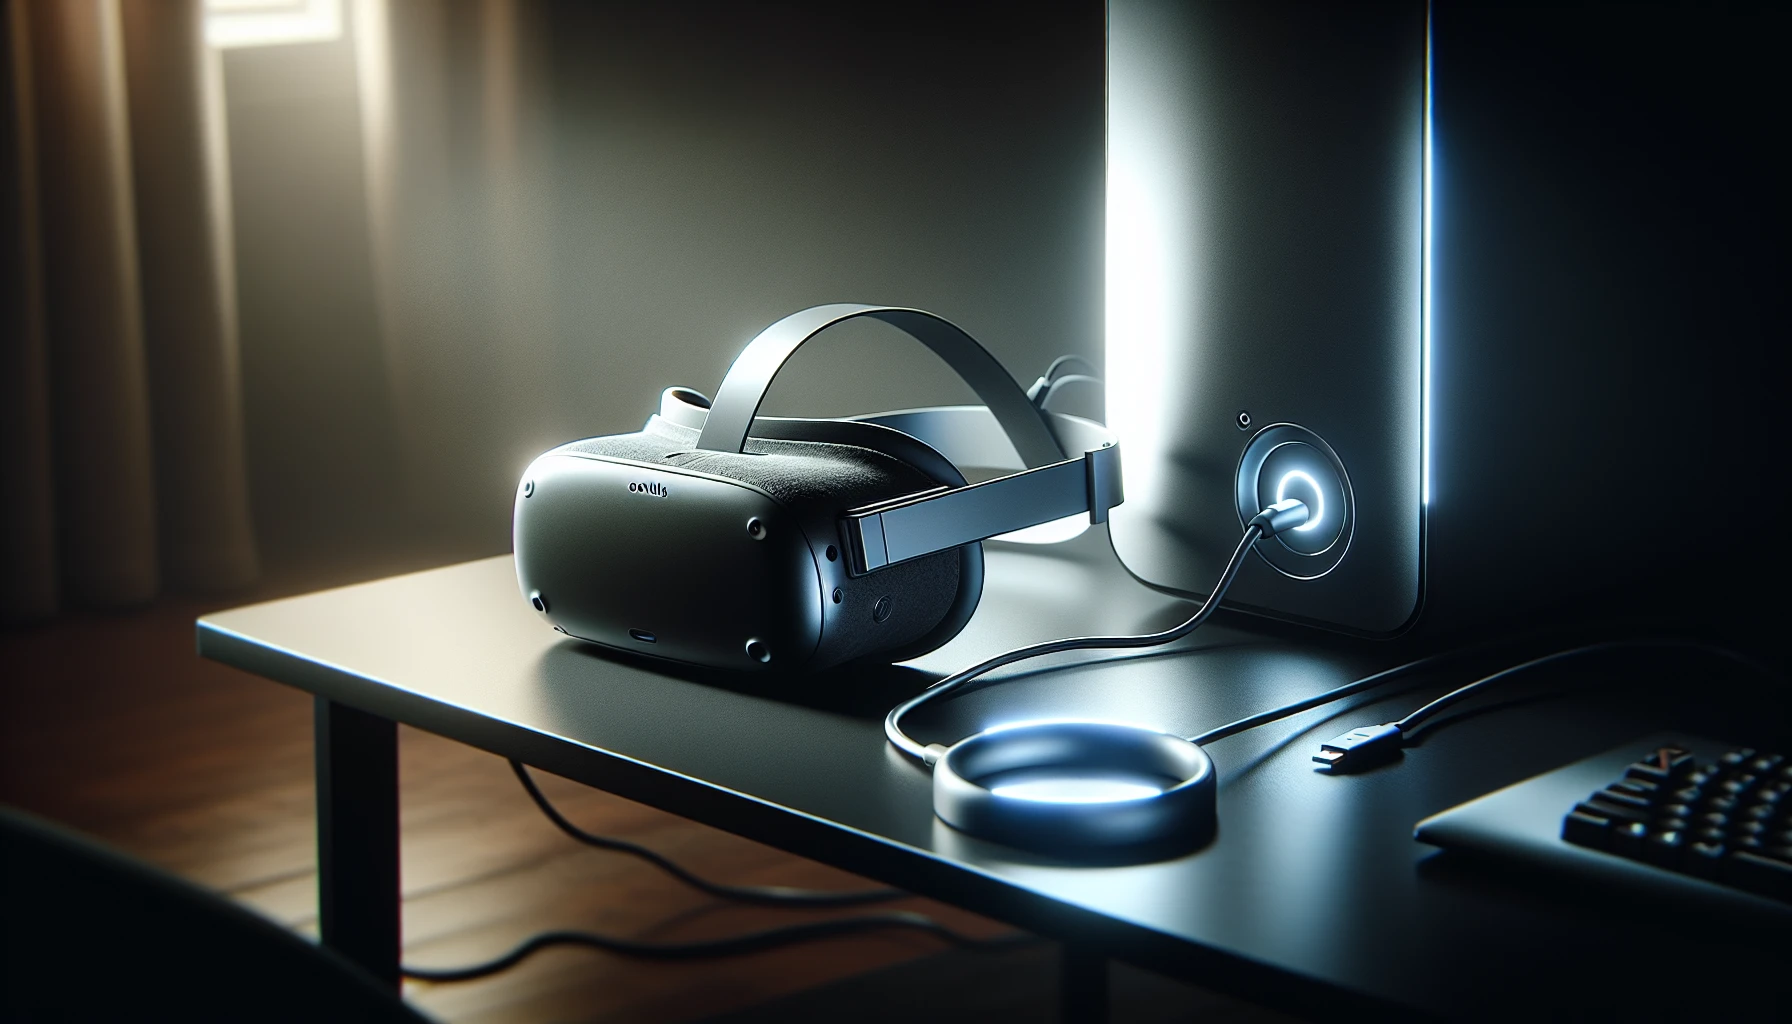
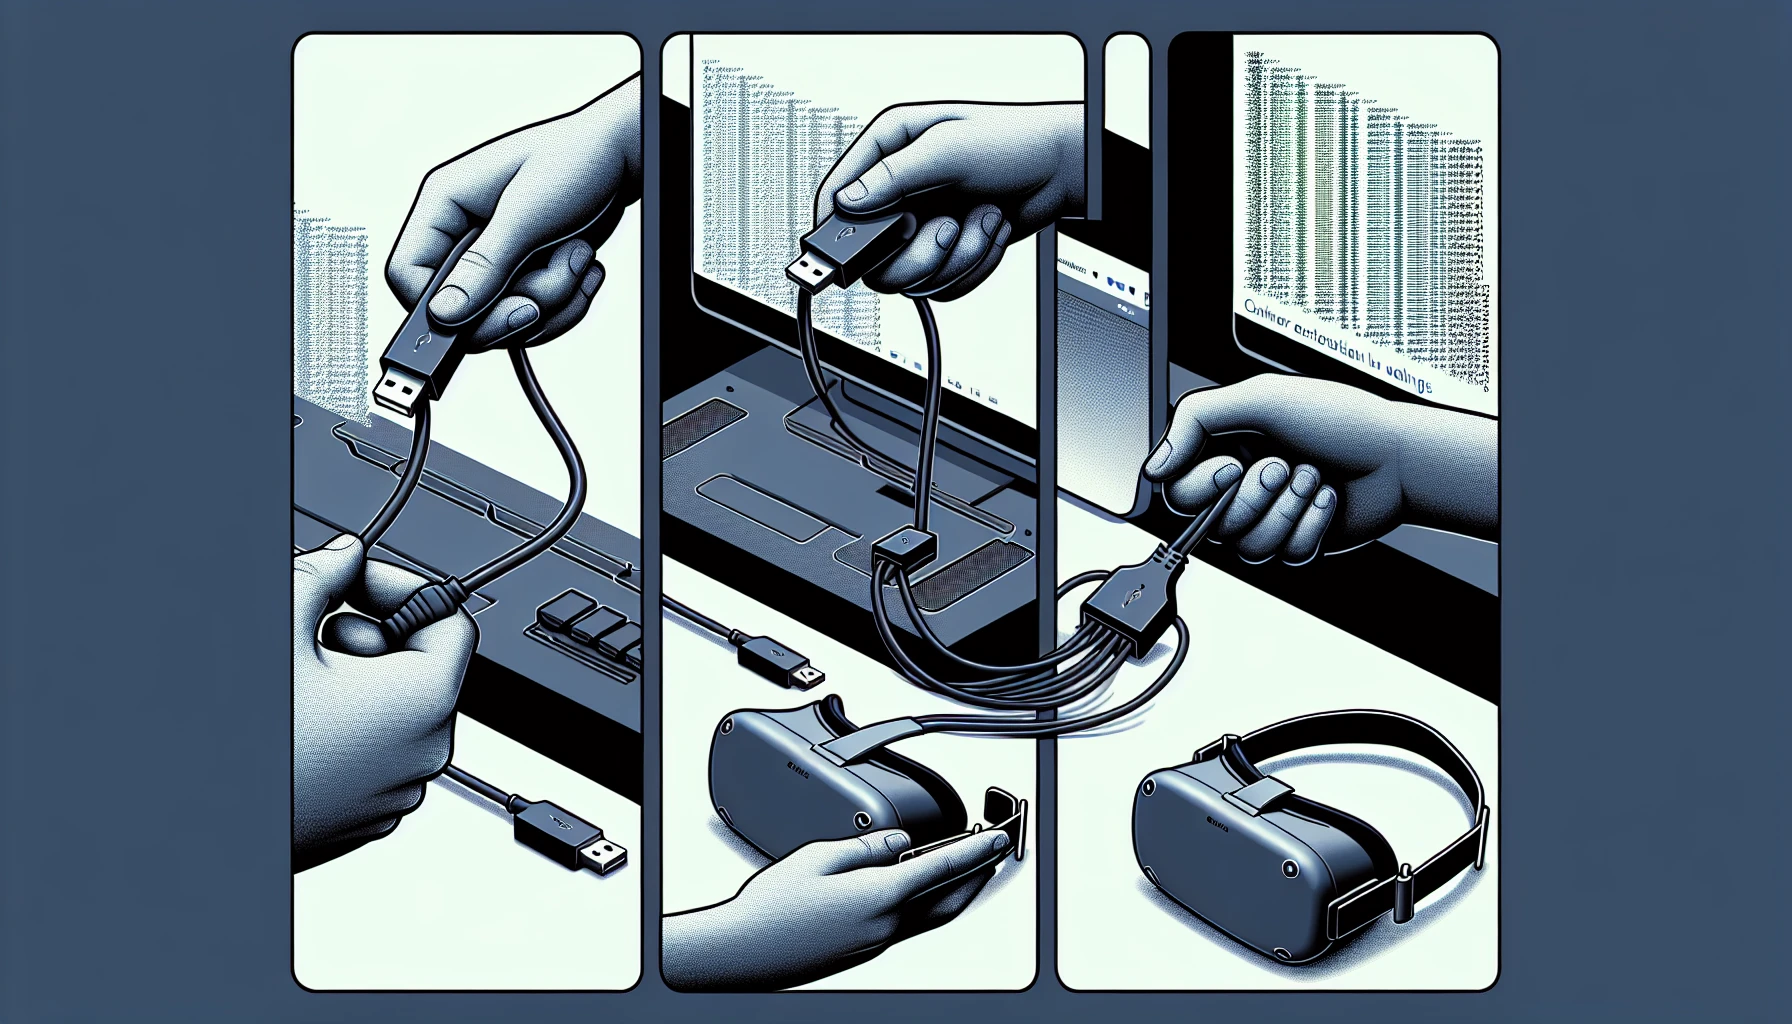
Connecting your Oculus Quest 2 to a PC with a wired connection is best achieved through the use of an official Oculus Link cable. If you don’t have this, it’s still possible by using any high-quality USB-C 3.0 alternative instead. Begin by downloading and setting up the related app onto your computer before connecting both devices via their cables - once connected you should see “Enable Oculus Link” appear on the headset itself. Select this option and move forward!
The feature allows for total access to Rift apps created for PCs from within virtual reality when linked to Windows 10 or 11, as well as being able to participate in events hosted inside Dash all while providing full enjoyment of everything that comes along with living under Home’s roof. But keep in mind: meeting all essential software/hardware requirements is necessary prior to hooking up if one wants optimal performance from their VR headset & experience out these types of games thereafter too!
Setting Up Air Link for Wireless Play

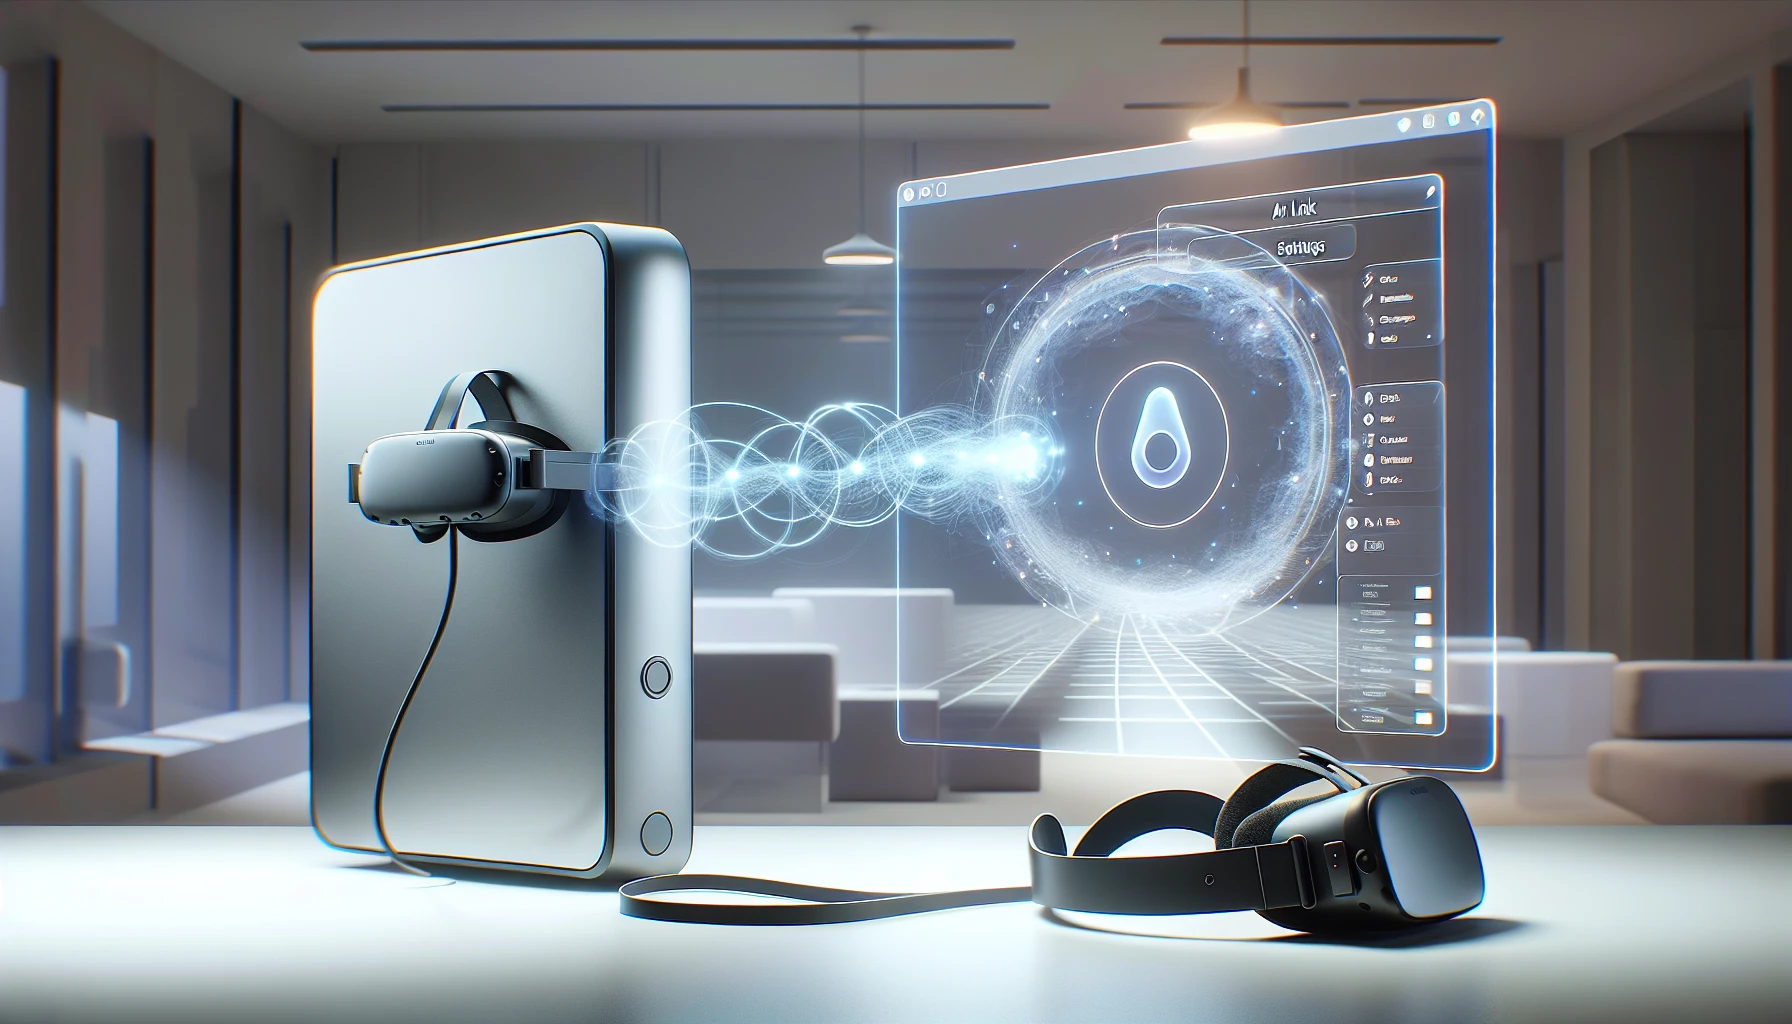
To connect your Meta Quest headsets, like the Oculus Quest 2 to a PC wirelessly, Air Link is recommended. It requires that both devices be running version 28 (v28) or later and connected to the same Wi-Fi network. Also you need to have installed on your computer The Meta quest App. To set up: open Oculus app then put headset on. Press the Oculus button located in the right touch controller, which opens Universal Menu–open Quick settings panel–select Settings column from there - select ‘Quest link’ followed by ‘Launch’ – toggle “Use Air Link”. On – select available PCs list for yours & click pair—verify pairing code similar between Computer screen and Headset display - finally confirm connection via desktop application form before proceeding with airlink usage as launching it from quick settings menu will make access easier gaining full advantages such as improved graphics performance of Vr games not offered under quest2 platform while enjoying unrestricted room scale play within this compatibility confines.
Navigating the Virtual Desktop and Universal Menu
Using your Oculus Quest 2 headset connected to a PC, you’ll be able to access the Universal Menu from the Dash interface, which allows for easy navigation in VR. Within this menu is ‘Oculus Home’, providing convenient control over apps, settings and customizations found within virtual reality environments. You can even view and operate with your Windows Desktop through Virtual Desktop while using it! To launch an app of choice on Quest 2, simply press Library - select Apps tab followed by selection of desired software. Push the left controller’s Menu button then use customization features available under HomeVR such as personalizing a living space where items can be moved around freely or changed up at will.
Managing Your VR Game Library and Device Settings
For PC users, the Oculus PC app is an efficient way to organize and manage their VR game library. This App in Oculus Dash provides a list of all downloaded apps that can be Customized by adjusting path settings for installed Rift Store games via the software. With your connected headset selected on its Devices tab, you can access graphics preferences from within oculus before going ahead with deleting a particular game from your Quest library, simply using the controller menu over it as confirmation.
Troubleshooting Common Connection Issues
Facing difficulties connecting with Oculus Quest 2 VR can be irritating, especially when you want to jump into gaming. Potential connection issues may include: having difficulty joining the PC or mobile app, not being able to calibrate height correctly on the PC link up, and slow Wi-Fi/internet signal. And random connectivity problems that arise. To troubleshoot these kinds of concerns, resetting your headset is a helpful suggestion - here’s how it works for OCQuest2 users.
- Turn on the device and open the accompanying Oculus App through your phone’s platform.
- Select ‘Settings’ located in menu bar at bottom part of page’.
- Choose a connected unit (which should read as ‘Oculus Quest 2’).
- Tap under ‘Advanced Settings’ then select Option labeled “Factory Reset”.
- ’Reset” button will appear, click it. If there continues to remain complications try checking all requirements pertaining to internet strength from both sides – know what cables are needed too! For additional help reach out directly via support system by Oculus Incorporated representatives.
Summary
Now that you have this comprehensive guide, connecting your Oculus Quest 2 to a PC for an ultimate VR gaming experience will be easier. Make sure you have prepared both the headset and the computer before establishing either a wireless or wired connection. Then manage your game library accordingly so that everything is in order when it comes time to jump into virtual reality on your PC. Don’t forget about possible troubleshooting steps too if there are any issues with getting connected!
Once ready, use the Oculus Quest 2 and take off into amazing immersive worlds of possibilities created by Virtual Reality games found on PCs, happy playing!
Frequently Asked Questions
What are the minimum PC system requirements for connecting my Oculus Quest 2?
In order to connect your Oculus Quest 2 with a PC, you should consult the system requirements from either Meta Quest Link compatibility webpage or on the manufacturer’s website. It is important to take note that this applies specifically to an Oculus Quest and not just any type of “Quest” in general but rather the new generation.
Can I use a high-quality USB-C 3.0 cable instead of the official Oculus Link cable?
You may connect your Oculus Quest 2 to a PC with either the official Oculus Link cable or an alternative USB-C 3.0 cable of high quality instead. It is essential that you use one of those two options for the link between your Oculus Quest and the computer system.
How do I set up Air Link for a wireless connection between my Oculus Quest 2 and PC?
This post provides a step-by-step guide on how to establish an Air Link between Oculus Quest 2 and PC for wireless connection. The same set of instructions can be used if you are connecting the older model, Oculus Quest, to your computer as well. With this link in place, both devices will now communicate effortlessly through a secure connection.
How can I manage my VR game library and device settings on my PC?
With the Oculus PC app, you can conveniently manage your VR game library and customize device settings on your computer. All it takes is a download of this helpful pc application to make managing all aspects of virtual reality easier.
What should I do if I encounter connection issues with my Oculus Quest 2 VR gaming setup?
Having problems with your Oculus Quest 2 virtual reality setup? Refer to Section 6 of this blog post for troubleshooting tips that should help you solve the connection issues. Don’t forget - it’s all about getting the most out of your new Oculus Quest and/orQuest 2 headset!