Master How to Scan on iPhone: Quick and Easy Document Digitization
Gone are the days of bulky scanners taking up precious desk space. With an iPhone in your pocket, you can now effortlessly transform physical documents into digital files. But how do you unlock the full potential of this powerful tool? Read on to master the art of “how to scan on iPhone” and explore the world of quick and easy document digitization.
Key Takeaways
- Quickly and easily digitize documents with an iPhone scan
- Perfect scans by positioning your device correctly & using the right kind of light
- Share, collaborate, edit & organize scanned documents with advanced features like multiple page scanning.
Getting Started with iPhone Scanning

Digitizing physical papers with your iPhone brings tremendous ease to you. Utilize the camera button on your device to quickly save and store significant documents for future use. With built-in scanning capabilities present in iOS and iPadOS, users can simply capture any type of paperwork (from important work forms to precious personal photos) without hassle. Scanning has never been easier. Allowing people a convenient way manage their clutterless office or archive meaningful memories forever!
Launching the Document Scanner
To scan on an iPhone, accessing the document scanner is required. You have two possibilities, Notes and Files applications. Both of them allow you to make one single document out of multiple pages that were scanned in together. Here we will look at each option so you can decide which works best for your needs.
The Note app as well as the File application are good choices for scanning documents with more than a few pages since they enable merging all those files into just one file or folder! With either program, it’s easy to complete scans directly from your phone without any extra fuss needed – perfect when needing something done quickly and efficiently using only an iPhone!
Notes App Method
Using the Notes app to scan documents is a great way to capture all the information quickly and accurately. To get started, open an existing note or create one by tapping on the camera icon located above your keyboard. You will then be able to select “Scan Documents” from the menu for enhanced scanning capabilities such as using the Scan Tap feature. Positioning your device directly over your document helps guarantee best results while ensuring that all of it gets captured automatically without having to press any buttons. If you need multiple pages scanned just keep this process going until finished before saving them when done. The benefit here lies in creating organized notes out of these scanned documents making storing & tracking easier than ever with its fluid interface!
Files App Method
The Files app provides an expedient manner to choose and scan multiple documents on either your iPhone or iPad. Begin by tapping the icon of this application that is present on the home screen of your device then select “Scan Documents” so you can capture the entire document in one go.Using iCloud Drive with scanning via Files App offers various advantages, allowing access to scanned documents from any Mac or other gadget are just some examples. There’s also a Markup tool available for users who want to edit their scans within this program itself!
Perfecting Your Scans
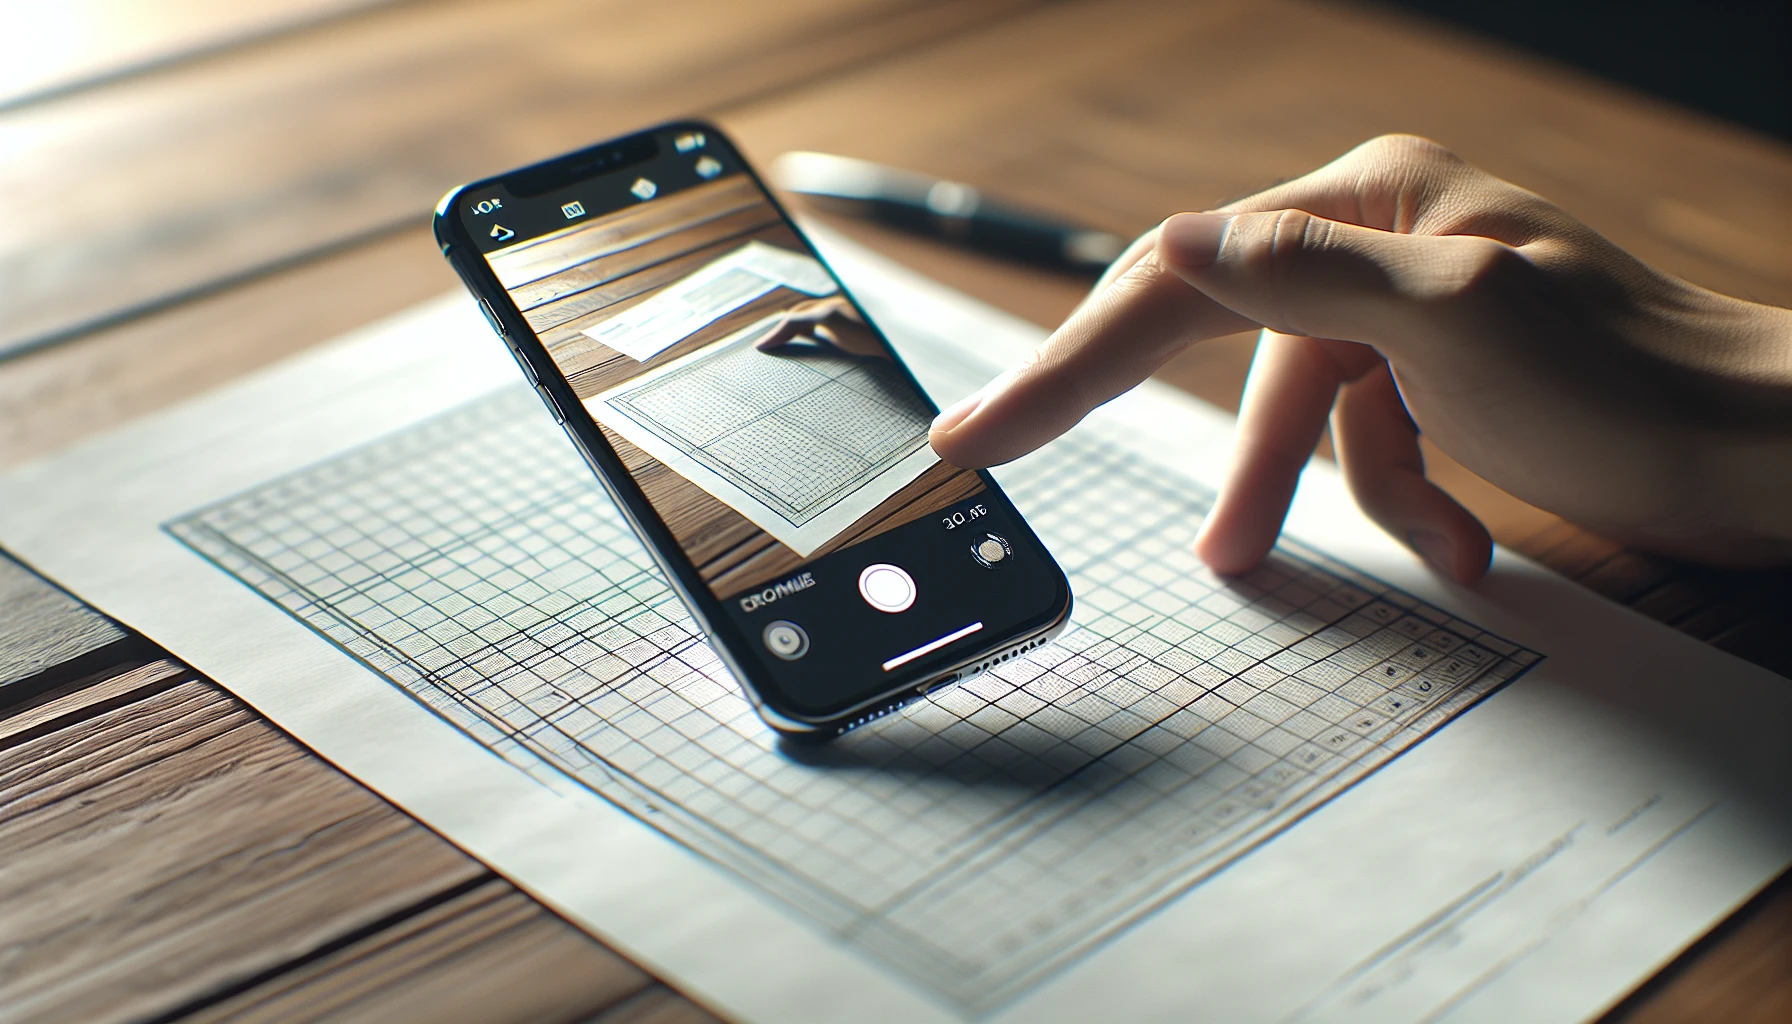
To obtain well-defined and intelligible documents, excellent scanning is a must. Natural light will offer the best results as it eliminates unwanted shadows while maintaining accurate color hues. At night, electric lighting should be used in order to avoid any glare or reflection that could affect quality negatively. When using your iPhone for scanning purposes, keep it elevated directly above the document. This way you’re sure of achieving proper scans every time! Heed these tips if you want consistent high-quality outputs from digital scans.
Editing and Adjusting Scanned Documents
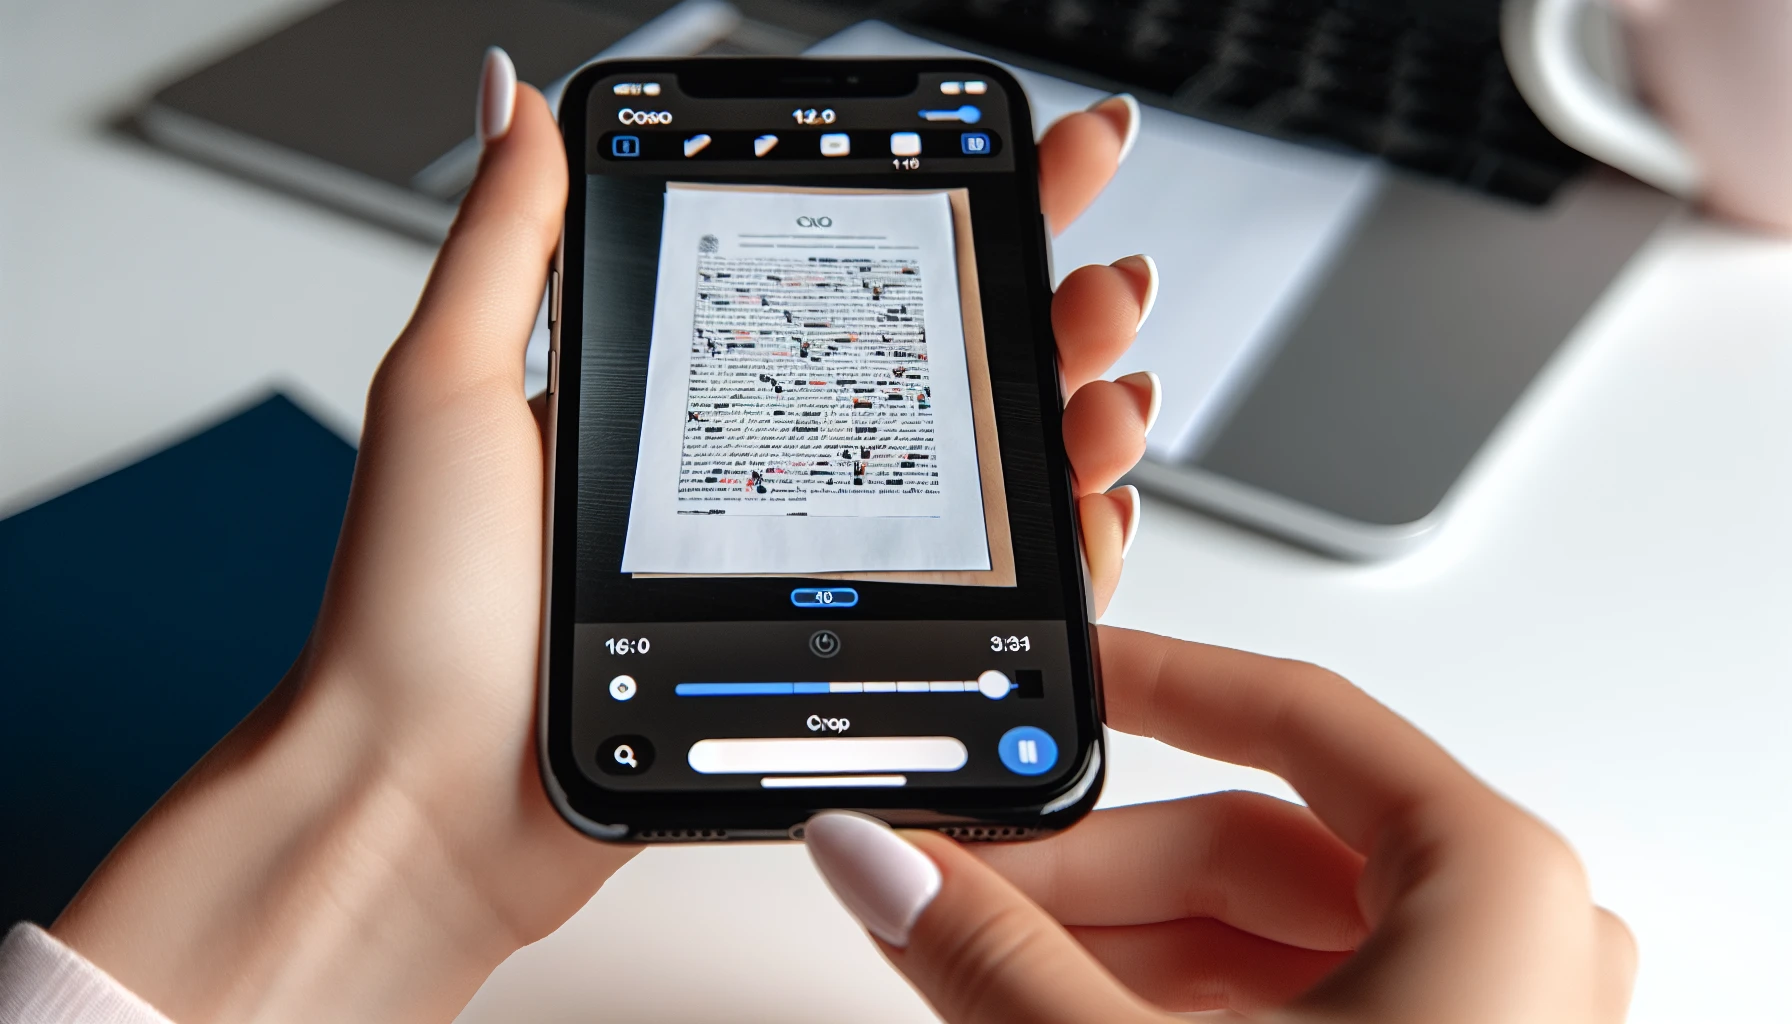
Once you scan a document, it may be necessary to adjust or edit it. You can do this on an iPhone with either Adobe Acrobat Reader or Microsoft Word. For Editing of your scanned documents, there is the Notes app. Using its Markup tool allows you to make notes, draw and add text along with even placing your signature if needed. When done tap “Save” in the top right corner which appears once selected from the Share button menu bar located close by proximity too for easy access as much as possible (easiness). The blue dots around that same area help when cropping images out so that clean professional-like quality stands out and is capable showing off accordingly without complications compared to before - making them ready to share/store likewise very quickly!
Saving and Organizing Scanned Documents
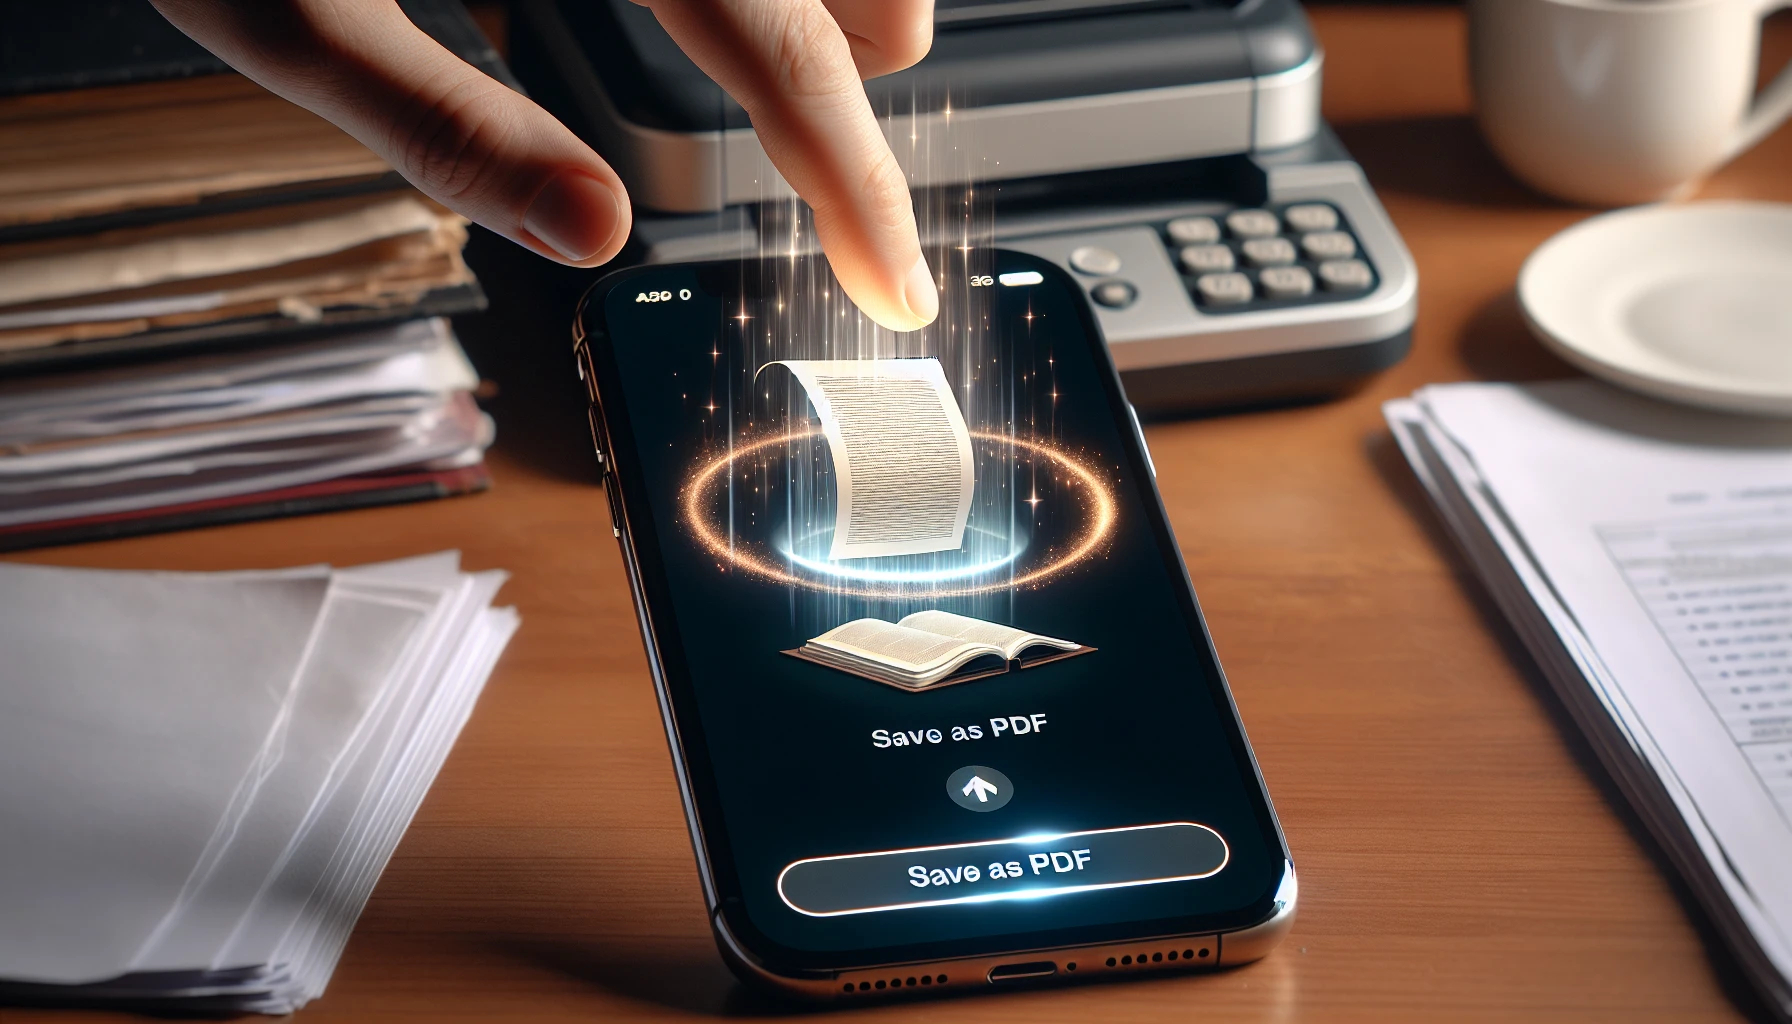
Once you have scanned and edited your documents, it is time to save them in an organized manner. You can send the document as an email attachment, store it on the Files app of iPhone or iPad like any other file types. To make a PDF out of a scan from an Apple device follow this guide.Making individual folders for each scanned record will help keep things neat. For creating one inside Files App: open up the files tab locate desired path/directory press ‘More’ button then select ‘Create Folder’ option put name according to need - tap Done once finished => voila! Now all saved scans are readily available wherever needed – either via email or access through iPhone or iPad!
Sharing and Collaborating with Scanned Documents
Your iPhone provides a handy way to share scanned documents. If you’re writing them in the Notes app, simply select a contact and send it directly. Through Files App, press down on any file until an assortment of options appear. Pick ‘Share’ from this menu and choose your preferred method for sending the document off.For easy storage access as well as sharing with multiple people at once, users may use online services such as pCloud, Dropbox or Google Drive, which are compatible with their iPhones. The device itself has also got functionality built-in that allows collaboration between different parties working together simultaneously on files like presentations or sheets across all platforms live without much trouble.
Advanced Scanning Features
For those who want to go With their scanning capabilities, there are a few features available on your iPhone or iPad that can make the process easier. This includes having the capability to scan multiple pages at once, add signatures into documents and even utilizing Continuity Camera together with a Mac computer. To do so for more than one page, please refer to our knowledge base guide. Inserting signatures is also covered in the same resource material too.TheContinuity camera allows you to transfer notes from either of these devices onto your macbook quickly and effortlessly, an option which promises noteworthy improvements when it comes down to document scanning overall!
Troubleshooting Common Scanning Issues
Scanning documents with an iPhone may present certain complications. These include: large document scanning leading to failure messages, poor scan quality, scanned files appearing as images instead of a PDF and the Notes app no longer having its own Scan feature after updating to a new iOS version. To counter these issues try dividing larger docs into small sections for easy scanning, alter lighting and positioning of your phone so that you get better scans, use third-party apps which are able to convert pictures into PDFs giving them greater compatibility while if unable to locate note’s built in scanner look out for alternative applications or updates allowing scannability on additional pages. By applying such measures one should be sure they can automatically do their scans without difficulty hence smoothly getting through any obstacles encountered when dealing with documents from iPhones.
Summary
It is possible to take your iPhone’s scanning capabilities up a notch by utilizing its powerful features for digitizing documents. With the right knowledge on how to scan and edit, you can make full use of this portable device’s convenience and efficiency. Understand different methods of scanning as well as perfecting scans in order to maximize all that it has to offer with respect to document organization and storage.
Frequently Asked Questions
How do I scan using my iPhone?
To use your iPhone or iPad to scan a document, open the Notes app and select ‘Scan Documents’ from the Camera icon. Put the paper under your device’s camera lens and then hit Save after completing it.
Alternatively, you can also take an image of said document with Notes application which provides users with Choice for scanning documents as desired!
Where is the scanner on my iPhone?
To scan documents with an iPhone, open the Notes app and create a new note. Then tap on the camera icon to initiate scanning. Frame your document so that it appears in view of your phone’s lens and watch as the system automatically scans it. You can save this scanned file for future use or reference.
How do I tap to scan on my iPhone?
If you wish to use the scanning feature on your iPhone, open Notes and click on the paper-and-pen icon. Choose Scan Documents from Camera menu in order to save a scanned version of documents that have been placed beneath your device’s camera lens. After finishing with this task, hit Save for successful completion of capturing photos as scans via iPhones’. Notes app.
Can I scan to PDF on my iPhone?
Using a Notes app or third-party scanner such as Adobe Scan, it is feasible to scan documents and save them in PDF format on an iPhone. This procedure typically involves pointing the camera at your document, choosing its type and tapping ‘Save’ when finished.
What are the benefits of scanning documents on an iPhone?
For a swift and efficient way to capture, store, and share documents quickly, scanning them on an iPhone is the ideal solution. This allows users to scan their important papers seamlessly from any location with ease.