Easy Guide: How to Screen Record on iPhone for Beginners
Have you ever wanted to show someone how to perform a particular task on your iPhone or simply share a cool app feature with friends? Learning how to screen record on iPhone is the answer to these dilemmas, allowing you to create visual walkthroughs, tutorials, or capture memorable moments in apps. In this guide, we’ll walk you through enabling screen recording on your iPhone, starting and stopping recordings, managing and organizing your recorded clips, editing them, and sharing your creations. Ready to become a screen recording pro? Let’s get started!
Key Takeaways
- Learn how to enable screen recording on iPhones running iOS 11 or higher
- Follow instructions in the Settings app for adding a Screen Recording icon to your Control Center and start/stop recordings with audio, as well as manage & organize recordings.
- Enhance recordings by using editing features such as trimming, adjusting color & lighting, applying filters & cropping and share them via messaging services or third party apps.
Enabling Screen Recording on Your iPhone
To enable capturing those amazing moments or tutorials step-by-step, you first need to activate screen recording on your iPhone. Almost all iPhones have the feature available since iOS 11 - with the exceptions of streaming services such as Netflix, Amazon Prime, and Apple TV+.
We will now give you a guide on how to turn on this function by opening Control Center then adding Screen Recording icon.
Accessing the Control Center
To begin enabling screen recording, accessing the Control Center is required. How this is done depends on your iPhone model. On phones from X or newer, simply swipe down from the top right corner of any screen whereas owners of earlier iPhones (8 and below) need to swipe upwards starting at bottom edge. Once open, look for the symbol representing the recording so you can proceed with the next step in the process.
Adding Screen Recording Icon
To add the Screen Recording icon to your Control Center, you need to begin by opening up Settings on your iPhone. Scroll down and tap ‘Control Center’ followed by ‘Customize Controls’. In the list of options available under ‘More Controls’, search for Screen Recording then press its corresponding green “+” button beside it. This will immediately make its way onto your personalised selection in Control Centre – which can be accessed simply by swiping from the top right corner of the screen or tapping directly on the newly-added recording icon there within!
Starting and Stopping a Screen Recording
Once you have added the Screen Recording icon to your Control Center, you are ready to start recording. This is how it goes.
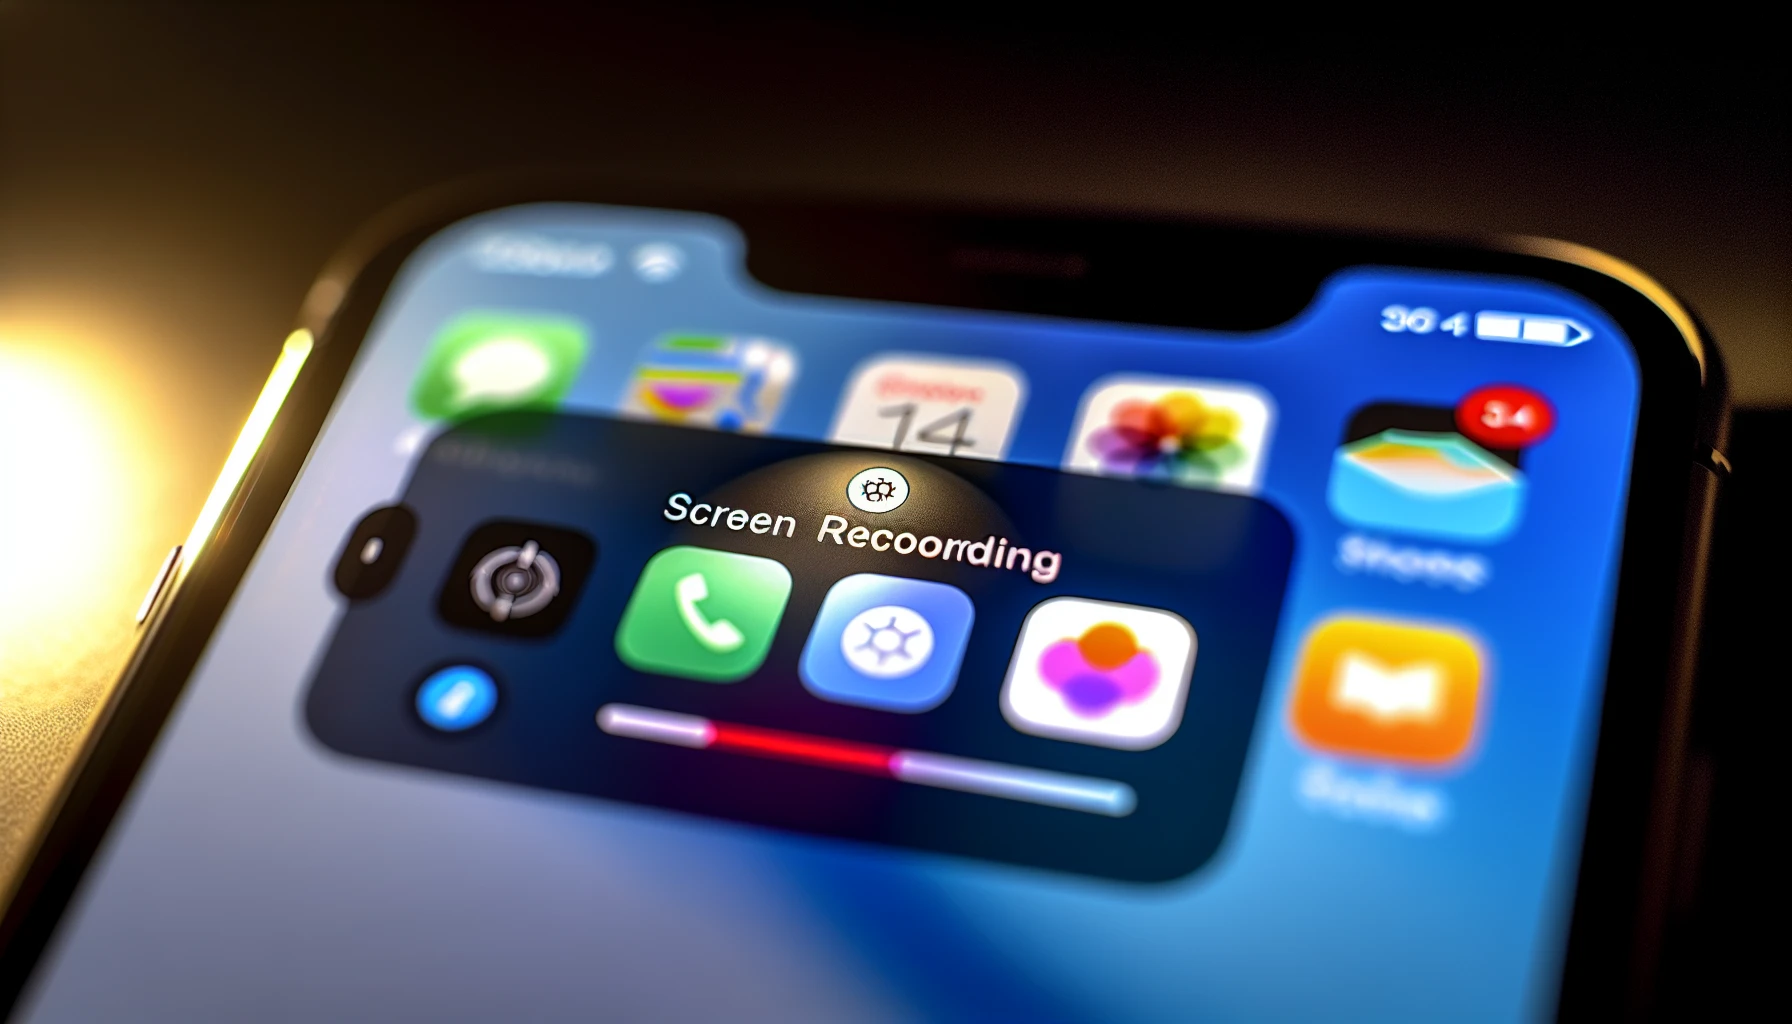
Tap on the Screen Recording button in the Control Center and a three-second countdown will begin so that you can get prepared for starting up your screen capture activity. During this time, keep an eye out for a red status bar at the top of your display as it indicates that your device’s screen is being captured now.
When finished with the recording, either press once shortly on the power button or tap onto the stop bar appearing on top of your screen; this will terminate the recording process automatically store it in the Photos app located in your photo library so easy access is right there for you every time needed to view or share your screen recording!
Recording with Audio
To record audio alongside a screen recording, you can first enable the microphone by tapping on the Screen Recording icon and selecting the Microphone button when it appears. Then access Control Center, press and hold down the Recording Button in order to toggle your microphone off or on during your recording session.
Recording App Sounds
To capture audio from your app while screen recording, make sure the ringer on your iPhone is switched on. By doing this, anything audible coming from the device, like in-game noises or notifications, will be included in the video footage of what’s displayed onscreen.
Managing and Organizing Screen Recordings
Storing your screen recordings after recording them on your iPhone is secure. The photos app will save it to the photo library automatically, meaning that all of your screen recordings can be easily located under ‘Media Types’ and found in one place with ‘Albums’. If needed, deleting those files can be done simply by opening the Photos App, selecting a recorded video file, tapping its trash icon, and then confirming before finally removing it from view. Doing this will help organize everyone’s personal space without having clutter or mess everywhere!
Editing Screen Recordings on iPhone
Now that you are an expert at creating screen recordings on your iPhone let’s move on to adding some additional flare with editing. You can use various features to enhance the look and feel of these videos, such as trimming clips, cropping shots, applying filters, and adjusting color/lighting settings, all from your iPhone! In the next section, we’ll show you how to take full advantage of these powerful tools so that each of your recorded screens is genuinely unique.
Trimming and Cutting Video
It’s easy to trim and cut unnecessary parts of your screen recordings on an iPhone. Start by opening the Photos App, picking the video, and pressing ‘Edit’ in the top-right corner. Then, use the trimming tool to adjust its length from both ends as desired before hitting ‘Done.’ Once you save it, all excess footage should be gone!
Adjusting Color and Lighting
You can modify the color and lighting for your screen recordings in the Photos app. Start by tapping on the dots-filled dial icon to bring up a scroll bar with contrast, shadows, sharpness, and more settings; swiping left or right will reveal different levels of adjustment that best suit your recording. Experimenting is key! That way, you get stunning visuals in every single one of your projects.
Applying Filters and Cropping
Using the Photos app, you can add a professional touch to your screen recordings by applying filters and cropping them. Tap on the icon with three overlapping circles to select one of the available filters for use, by dragging around a wire frame box that outlines what is recorded in your video. Any content outside this selection will be cropped entirely before sharing or publishing online. To ensure perfect results for enhancing these recording projects, first record all footage by utilizing screen recording options beforehand. These editing features enable you to create stunning pieces using only simple applications like this, ready for viewing immediately!
Sharing Your Screen Recordings

Once you’re happy with your screen recordings, sharing them is simple on iPhone. To begin, go to the Photos app and click Share in the bottom left corner. Then, choose the application to which it should be sent – like a messaging service or social media platform. You can also share the following instructions by email from their Knowledge Base.
The possibilities for capturing footage of your phone’s screen are limitless- whether that’s gameplay video clips shown off online, tutorials shared at work, or demonstrating functions through apps…with just some taps, you’re able to edit/capture then distribute material quickly and effectively!
Third-party apps for Enhanced Screen Recording
For those looking to elevate their iPhone screen recording experience, a range of third-party apps are available. These can provide Features and options that aren’t part of your phone's built-in recorder, such as trimming, cropping, merging, adjusting speed, or adding transitions and effects. Several popular applications exist, like Movavi Screen Recorder, AZ Screen Recorder & Mobizen, for free, so you won’t have to break the bank when finding something suitable for your needs. Similarly, these offer extra editing capabilities ranging from applying filters to incorporating text into recordings alongside other standard tools like mirroring & capturing video footage off the device’s screen!
Summary
In this accessible guide, we’ve covered the essentials of screen recording on your iPhone, from enabling the feature and starting your first recording to editing and sharing your creations. With these skills in your toolkit, you can confidently capture your iPhone screen and create engaging content for personal, educational, or professional purposes. So, go ahead and unleash your creativity with screen recording on your iPhone!
Frequently Asked Questions
How do I turn on screen recording?
To initiate Screen Recording, open Control Center and press the gray Record icon. When you want to end your recording session, go back into the Control Center again and tap the red " Record " button.”
Why can't I record my screen on my iPhone?
To capture the activity of your iPhone screen, ensure that Screen Recording is enabled in Control Center found under Settings. Content & Privacy restrictions should be adjusted accordingly to permit recording as well. Without taking care of these requirements, you won’t have access to record the screen.
How do I screen shot on iPhone?
To capture a screenshot on an iPhone, you must simultaneously press the power and volume up buttons. Release them quickly after that. Your screen will briefly flash indicating successful capture of the image. It can be saved in Photos by swiping left afterward.
How do I record my iPhone screen off my phone?
For recording on an iPhone, open Settings and scroll to find the Screen Recording option. By tapping its plus sign beside it in Control Center you will gain access to that feature. To begin a screen capture, press the Screen Recording icon after opening up your phone’s Control Center. Then wait for 3 seconds before continuing. Finally, when done with this record, tap Stop from inside of the same app (Control center).
How do I access the Control Center on my iPhone?
If you have an iPhone X or a newer version, to access the Control Center simply swipe down from the top right corner of your screen. For users with older iPhones (8 or earlier), they can gain access by swiping up on any display’s bottom edge.