Mastering How to Screen Record on Mac: A Step-by-Step Guide
It’s simple to capture your Mac display and create appealing tutorials, stimulating presentations, or even record special gameplay moments. To help you make the most of screen recording on your Mac computer, we have put together a comprehensive guide that will show you various methods that can be used for this purpose – both native tools as well as powerful third-party software – thus making sure that whatever needs arise are taken care of.
Whether an expert or getting started with it all, our article provides valuable tips & tricks so mastering Mac screen recording is made easy! So, let’s discover how effective use can be by utilizing screen record features on macOS devices!
Key Takeaways
- Screen recordings on Mac can be done quickly with the built-in Screenshot Toolbar or by using QuickTime Player.
- Third-party apps like OBS Studio, Snagit, and Loom offer additional features for more advanced users.
- Tips to optimize performance and troubleshoot common issues are available to ensure successful screen recording results.
Using Built-In Screenshot Toolbar for Screen Recording
Did you know that macOS features a built-in tool for screen recording? It is known as the Screenshot Toolbar, which can be accessed quickly by pressing Shift + Command + 5. This will bring up the window - also called Screen Recording Window – and give access to various options like capturing images and videos of your entire screen or part of it in audio/video formats.
With this toolbar, users can add microphone input aside from the default internal one when recording their Mac’s screen actions, too. All they need to do is hit Control+Command+Escape if they wish to stop filming anything displayed on the monitor. The Screenshot Toolbar proves practical for those wanting quick records without having trouble finding additional software beforehand.
Advantages of Screenshot Toolbar
The Screenshot Toolbar provides a quick and easy solution for screen recordings on Mac. All you need is this built-in tool, as no additional software needs to be downloaded or installed – making it very convenient! The user has control of their recording with customizable options such as which part of the screen gets recorded. Mouse clicks can also be included if desired. With audio inputs available, your video will capture any necessary sound and visuals to cover all details in one shot.
Limitations of Screenshot Toolbar
The Screenshot Toolbar is a helpful and accessible choice for those wishing to record their Mac screen, although it has some limitations. Its features are essential, so additional software would be needed to modify or annotate the recording. You won’t have video formats and resolution options when saving your recordings with this tool. Plus, manual start-stop must be utilized since this app has no automatic system. Despite its restrictions, the Screen recording toolbar still offers users an easy means of capturing footage from their screens without any prior experience using advanced programs.
Screen Recording with QuickTime Player on Mac
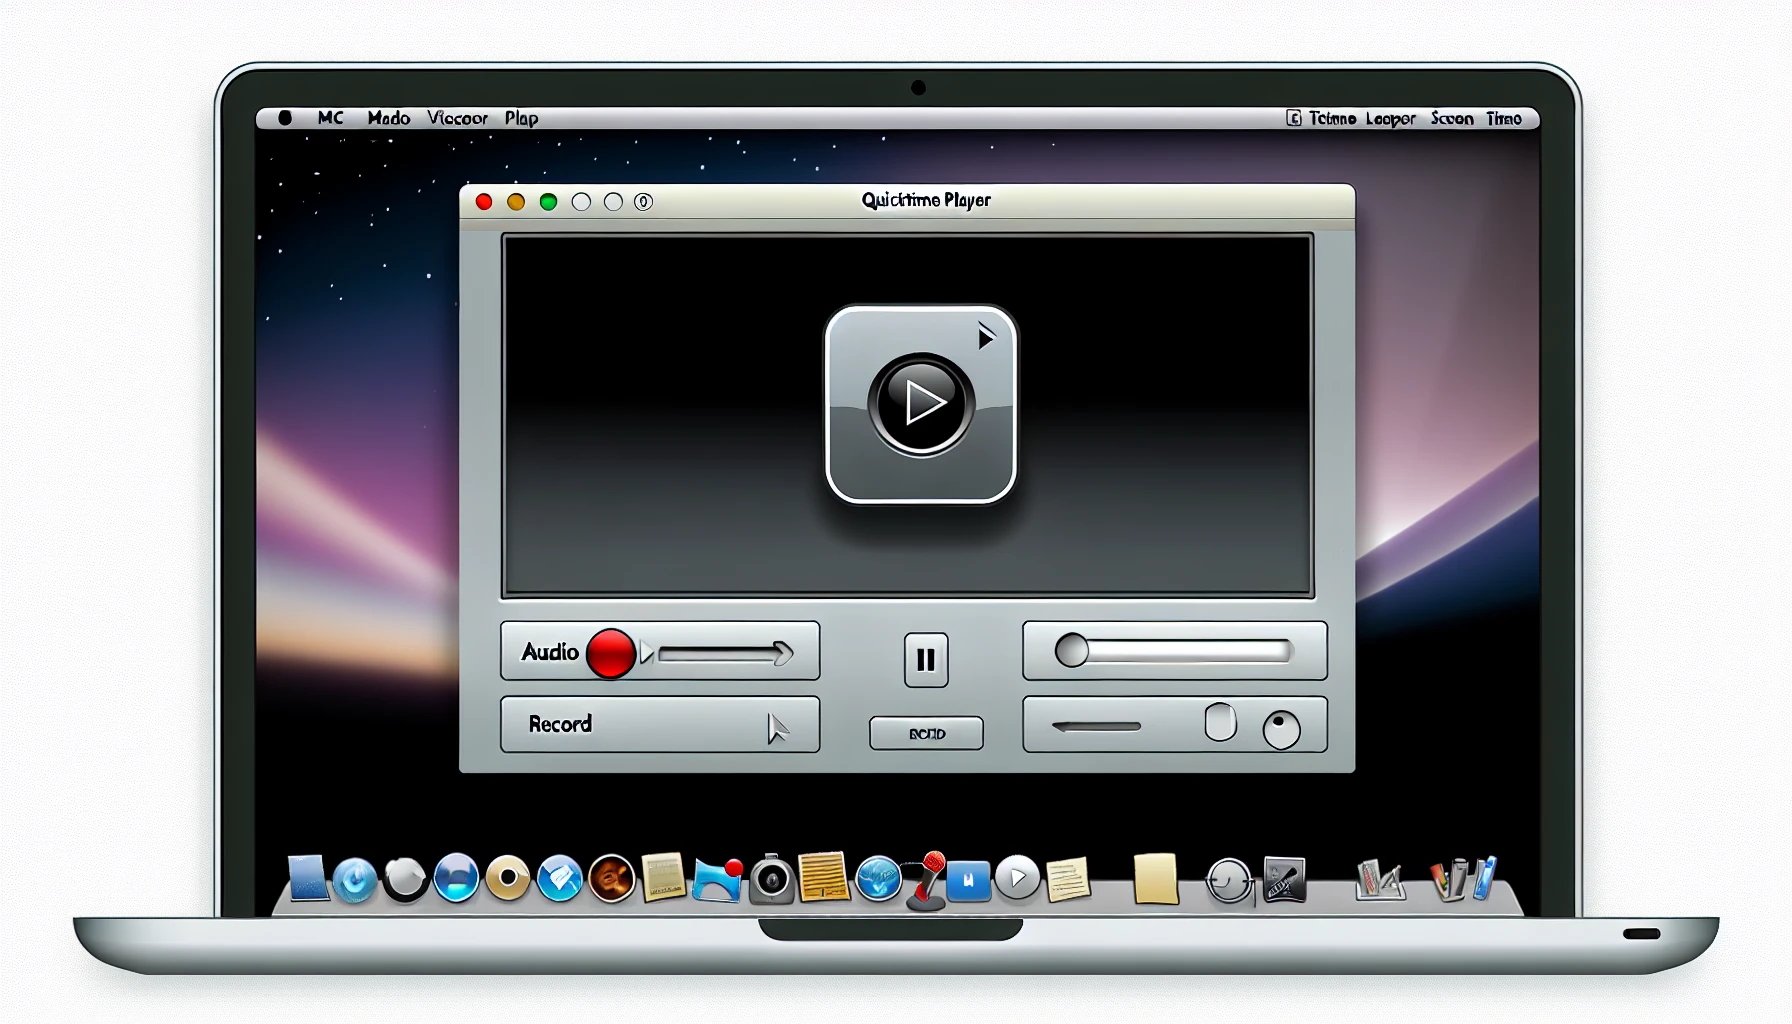
QuickTime Player, an already installed app, is an excellent choice for Mac users looking to screen record. You can quickly start a new recording of your entire screen or part of it through the File menu bar in QuickTime Player. You can also include audio with the video by using your built-in microphone and selecting “Microphone” from within the Options found in this pre-installed application.
This versatile tool offers many features that make it so ideal when needing to capture something happening onscreen, such as creating recordings over both fullscreen and parts thereof, adding sound by allowing the use of existing microphones, Simply being user-friendly overall, making its usage straightforwardly understandable for most people who own Apple computers/devices, etc.
In summary, if someone needs an efficient solution that provides accessible and understandable steps towards accomplishing successful records over their screens, choosing Quick Time should be optimal!
Enhancing Recordings with QuickTime Editing Tools
QuickTime Player can record your screen and provides fundamental video editing tools to help perfect it. Through this, you can remove any unwanted sections or split the captured footage into several segments for better organization by following a few steps:
- Access and open up your recording with Quicktime’s player.
- Visiting its “Edit” menu tab on top.
- Select the corresponding option (either “Trim” or “Split Clip”) to adjust whichever segment is chosen from among those in the video’s capture. Although these abilities may be less sophisticated than others, they can still be beneficial when making minor modifications/tweaks inside one’s screen recordings without requiring additional altering applications involving technologically advanced programs.
Saving and Exporting QuickTime Screen Recordings
Once you have completed recording and editing your screen capturing with QuickTime Player, it is time to save and export the video. QuickTime, like MOV, MP4 & M4V, supports multiple file formats. This offers much-needed flexibility when sharing or preserving these recordings on a Mac system.
To create a record of what appears on the screen, locate “File” from the menu bar and then hit ‘Save’ to save its location onto your machine. If there is a need to distribute such videos online without difficulty uploading them directly to sites dedicated to file-sharing purposes, hosting services that support digital content would be suitable options, too, perfect mediums for interacting virtually with others while demonstrating work visually!
Third-Party Screen Recording Apps for Mac

If you want to record screens on macOS, various third-party apps that provide various features and specialized capabilities are available. Popular Mac screen recording software includes Camtasia, ScreenFlow, OBS Studio, Movavi Screen Recorder as well as Loom, each offering different advantages and drawbacks that require careful consideration before selecting the right one for your needs, from robust open source solutions such as OBS Studio or an excellent tool for instructional videos like Snagit. Up to cloud-based applications meant both for recordings plus collaborations – these options should provide something suitable no matter what use case you have in mind. Let’s take a closer look at some of them and their characteristics!
For those wanting more advanced functionality regarding screen capturing with macOS than its existing built-in alternatives can offer – choosing between quality third-party recorder apps could make all the difference regarding productivity levels achieved using this technology.
OBS Studio: A Powerful Open-Source Option
OBS Studio is a free and open-source software that provides its users with advanced video and audio features, including multiple recording inputs for diverse platforms. It allows you to record from different audio sources, thus creating an impressive audio track, capturing footage using varied resources, adjusting sounds by tweaking settings and levels or adding effects like filters to your recordings.
Overall, OBS Studio offers many valuable options for screen capturing, even providing the user-friendly ‘screen record’ feature so novices don’t get discouraged in learning how the program works effectively! Experienced customers can use this powerful toolset, giving them more control over their end product. Despite being free and open source, it delivers capabilities perfect for all screen recording needs while remaining accessible to beginners and professionals alike.
Snagit: An Ideal Tool for Instructional Videos
Snagit is an outstanding solution for educators, instructors, and anyone who wants to create instructional videos. It offers a user-friendly interface with several powerful tools such as templates, visual inclusion options, and multi-platform support, making it particularly suitable for Mac users.
Recording screens can be executed quickly due to the software’s excellent screen recording capabilities, even more so if one takes advantage of its editing functions! Finally, Snagit enables handy sharing features that make this tool even better than expected when crafting online content.
Loom: Cloud-Based Recording and Collaboration
Mac users who must collaborate and communicate with remote teams can rely on Loom, a cloud-oriented screen recording tool. This makes sharing recordings easy, as the automatic link provided enables effortless asynchronous collaboration. With both Mac app and Chrome extension options for recording your screen’s content, plus advanced editing features such as captions or annotations highlighted in the video footage itself – it has plenty of uses aside from capturing what’s happening on your device! Its AI capabilities offer task automation (like auto titles), filler word removal, and sound silencing enhancement functions, making it truly powerful.
Tips for Optimizing Mac Screen Recording Performance

I suggest you make specific preparations to ensure your Mac operates optimally while recording the screen. You can start by shutting down any extra apps running in the background to clear up system memory and CPU usage for smoother and more efficient recordings.
Utilizing dependable software like Snagit, Camtasia, ScreenFlow, OBS Studio, or Movavi’s dedicated Screen Recorder can also significantly boost performance when capturing a Mac desktop. These programs are tailored specifically towards macOS users so that you may produce higher-quality screens at reduced risk of technical difficulties compared to other methods of recorders on Macs.
Finally, investing in quality tools such as those mentioned earlier will help maximize results generated from your screen capture sessions, allowing for polished video outcomes free of lag issues associated with lower-grade solutions available online today.
Troubleshooting Common Mac Screen Recording Issues

Issues with screen recording can be troublesome, but they are often easy to fix. If you have no sound in the footage, check your audio settings and ensure that all of your software is up-to-date – if not, switch over to a different app that records sounds better. In case there are errors, such as broken files or messages showing up on display during capture sessions, try another tool for capturing recordings or upgrade what you’re currently using. By being aware of potential problems and preparing ahead regarding Mac’s screen recording abilities, one should be able to smooth out any issues quickly.
Summary
In summary, getting into screen recording on a Mac is an achievable goal. Easy access to built-in programs like the Screenshot Toolbar and QuickTime Player makes it easy for users to capture their screens quickly in no time. If more advanced features are desired, third-party applications such as OBS Studio, Snagit, or Loom can be implemented, all equipped with capabilities designed specifically for your requirements.
Tweaking system performance settings and identifying any regular errors while also selecting suitable software tools will help create exceptional recordings that enhance presentations considerably! What’s stopping you? Take action by diving deeper into the Mac-based Screen Recording world today!
Frequently Asked Questions
How do I record video with sound on my Mac?
Launch QuickTime Player and open the File menu to select New Screen Recording to get a video with audio on Mac. Click the arrow next to the Record button in red before clicking Record itself for recording purposes. Finally, you can regulate the volume control option to hear your recorded audio clearly while the screen is captured from this recorder tool.
How do I record my computer screen?
To record your computer screen, hit the Windows Key + G to open the Xbox Game Bar, then Windows Key +. Alt+R to start or stop recording. A small widget showing how long you’ve been recording will appear in a corner of the screen.
To finish recording, press Stop on the widget or hit Windows Key +.Alt+R again.
How do I access the Screenshot Toolbar on my Mac?
To access the Screenshot Toolbar on your Mac, press Shift + Command + 5.
Which third-party screen recording apps are highly rated for Mac?
For Mac users, some highly acclaimed screen recording apps are available, such as Camtasia, ScreenFlow, OBS Studio, Movavi Screen Recorder, and Loom. These tools allow users to capture their activity on a computer or laptop monitor easily.
How can I optimize my Mac's performance during screen recording?
For the best Mac operation while recording on screen, please shut down any unnecessary programs running in the background and use a reliable screen-capturing tool. It is important to focus solely on what appears on the display during the recording to enhance your output quality.