Master How to Screenshot on a Chromebook: Easy Step-by-Step Guide
Have you ever wondered how to screenshot on a Chromebook and edit the perfect capture? Chromebooks offer versatile and efficient ways to capture, manage, and share screenshots seamlessly. Whether you need to show off your latest masterpiece, collaborate with your team, or save something for reference, this guide will provide you with the knowledge and tools to master “how to screenshot on a Chromebook” and its various features.
Key Takeaways
- Quickly take full-screen screenshots on a Chromebook with the press of a few keys or click of a button.
- Select and capture partial screenshots with Chrome OS 88+ using the Ctrl + Shift + Show Windows shortcut.
- Tablet mode offers convenient touch methods, while advanced tools & extensions provide extra features such as screen recording & webpage capturing.
Quick Guide to Full Screen Screenshot on Chromebook

Taking a full-screen screenshot on a Chromebook can be easily done using Chrome OS’s built in screen capture tools. All you have to do is press Ctrl+Show Windows or click Screen Capture from the Quick Settings menu and the screenshot toolbar will appear, allowing for capturing of either entire screens or even recording your device’s display activity!
Snapping a Partial Screenshot: Select and Capture

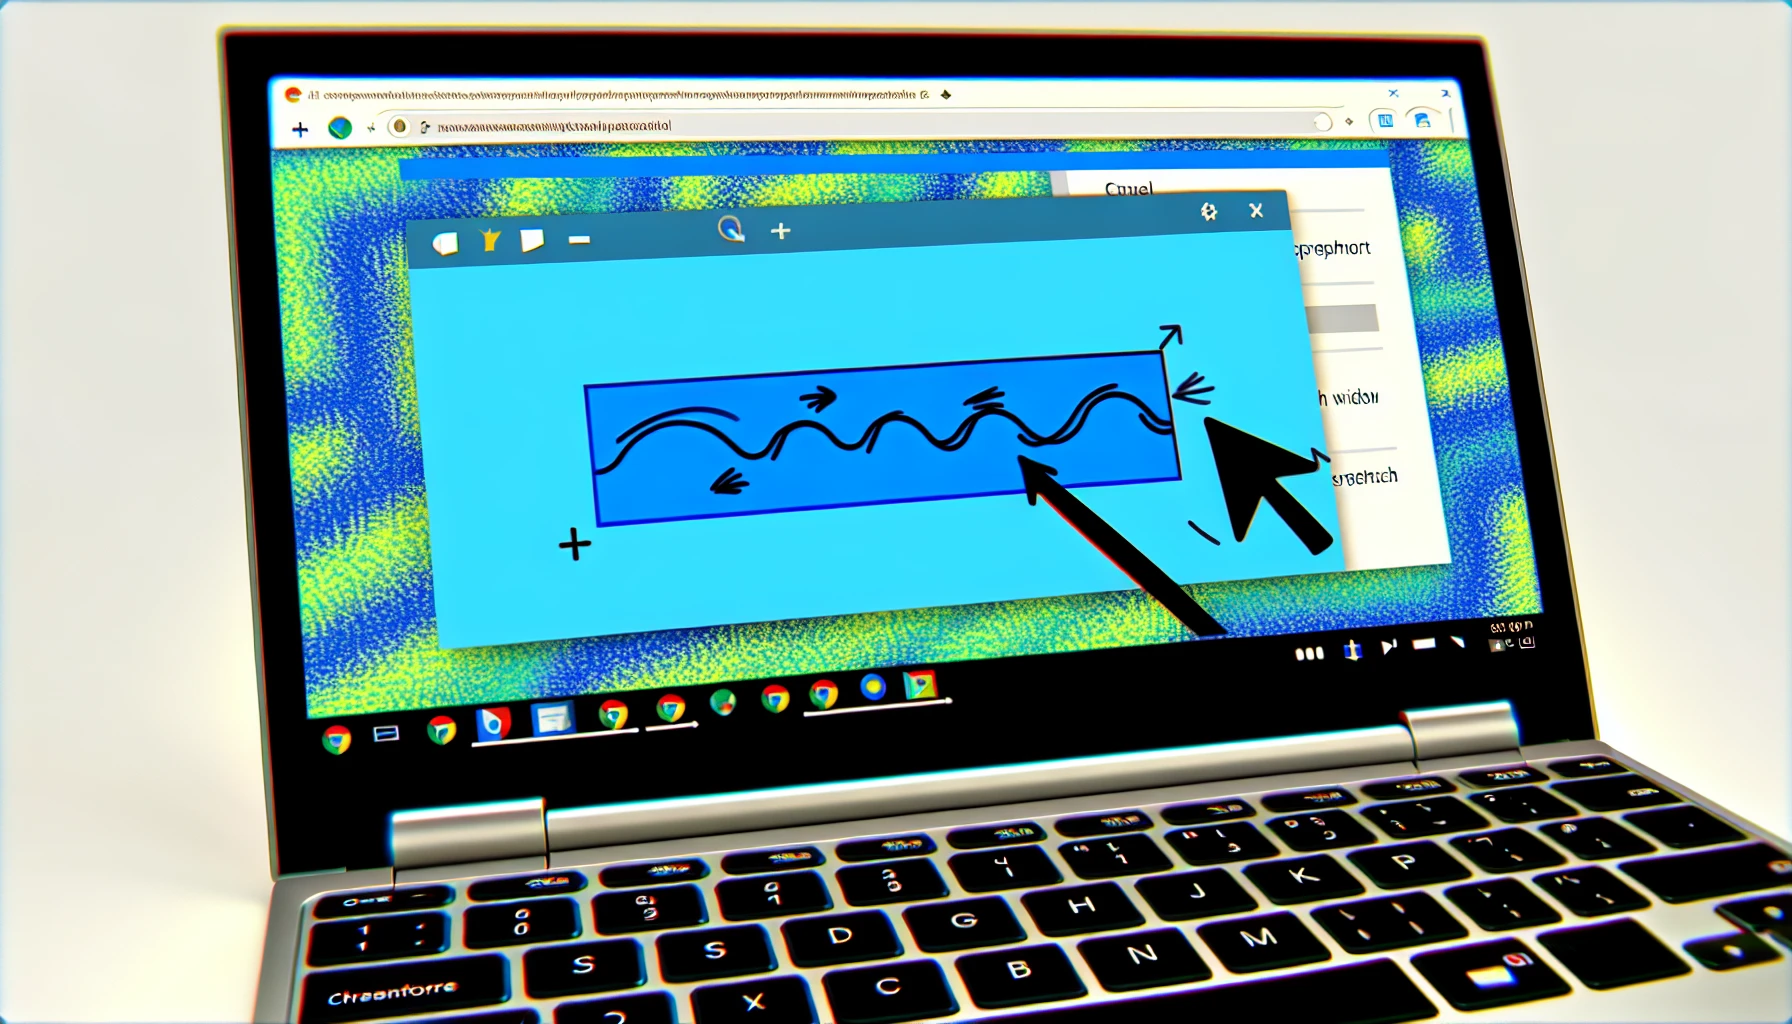
The Screen Capture utility, available with Chrome OS 88 or higher, is a versatile screen capture tool that provides users an easy way to take screenshots. By pressing Ctrl + Shift Show Windows keyboard shortcut on Chromebooks this opens up the possibility of capturing any desired area by dragging the cursor and displaying a crosshair marker. There are also options for full-screen mode window mode as well as recording from your entire screen in both screenshot and partial settings which are saved into images & downloads folders automatically when chosen. Screenshot button plus Partial buttons will be selected by default while using this efficient capture app for all those needs related to screens. So they can use it depending on their requirement quickly!
Tablet Mode Screenshots: Touch-Based Methods
Tablets with Chrome OS have a specific method for taking screenshots. All that needs to be done is holding down the Power button and tapping Volume Down at the same time, after which you’ll end up with an image of your full screen. If there’s no physical keyboard available on the device, this will become your main way of grabbing some snapshots. Plus, there’s also an option allowing annotations directly once it has been captured in tablet mode!
Accessing and Managing Your Chromebook Screenshots
For convenience, Chrome OS stores screenshots and screen recordings in the Downloads folder by default. Through Files app, you can find your photos and downloads with ease. Or alternatively transfer them to Google Drive for safety backup purposes. Tote on Shelf grants easy access to recently downloaded items as well as user-pinned ones without having to dig deep into other apps from time to time.
Advanced Screenshot Tools and Extensions

At times when you need to take screenshots with more flexibility, there are useful tools and extensions such as LightShot, Awesome Screenshot and FireShot. With LightShot users can easily grab shots by dragging them around the screen along with options for adding text boxes, arrows or rectangles into it. Whereas Fantastic Screenshots supports recording of a whole session on top of blurring elements, taking notes while quickly uploading captures to services like Slack, Asana or Trello. Finally we have FireShots which allows saving images in several formats and sending directly via email or OneNote complete webpages without joining various screenshots together.
Customizing Screenshot Shortcuts with External Keyboards
If you’re looking to enhance your typing experience on a Chromebook, using an external keyboard like the Logitech K580 Chrome OS Edition or Bridge C-Type can be extremely helpful. You’ll have more customization options when connecting via USB or Bluetooth and the Windows key will now act as its search button counterpart. To edit your screenshot shortcut while using this new peripheral device, go to Settings > Device > Edit your screenshot shortcut. Keyboard after pressing Alt + Search (or Shift + S).
Recording Your Screen: Video Capture on Chromebook
Are you familiar with your Chromebook’s ability to record the screen? Not only can it be used to take screenshots, but there is also a toggle on the far left of screenshot toolbar that allows users to switch between taking snapshots and making videos. If sound is required in order for these recordings or visuals then simply access the microphone option found within settings button from this same pane. This way producing engaging content becomes much easier due to recording directly from one’s device. Third-party extensions such as Loom & Screencastify bring additional features which makes recording screens effortless on Chromebooks too!
Editing and Enhancing Screenshots Directly on Your Chromebook
If you’re looking to refine and enhance your screenshot, a Chromebook has got you covered. Double click or tap on the image in the Files app for it to open up with its own native image editing suite – where you can rotate, crop and carry out several other modifications. If that isn’t enough then add more tools like Pixlr from the Chrome Web Store which also offers Crop & Rotate as well as Rescale features along with numerous additional functions.
Troubleshooting Common Screenshot Issues
If you are having trouble with taking screenshots on your Chromebook, such as blurry images or the device freezing up, then updating Chrome OS to its latest version may be useful. Closing all applications and browser windows along with a hard refresh of the page could help clear any issues. Changing it over into tablet mode before switching back again can also prove helpful in fixing this dilemma. If these attempts don’t yield positive results though, getting extra assistance from expert sources or contacting Chromebook support would likely bring about an effective resolution so that capturing and editing screenshots is possible once again without complication.
Summary
Now that you’ve learned the ins and outs of taking, managing, and editing screenshots on your Chromebook, you’re well-equipped to capture and share your screen with ease. Whether you’re using built-in tools or third-party extensions, Chromebooks offer versatile and user-friendly options for all your screenshot needs. So go ahead, snap, edit, and share away!
Frequently Asked Questions
What does the screenshot key on a Chromebook look like?
On a Chromebook, to capture a screenshot one would typically press the CTRL + F key. Show Windows keys in unison. Located on the top row between the Full Screen and Brightness down buttons, this special key resembles an elongated box with two lines next it - often referred to as ‘Show Windows’. Taking these steps allows for capturing whatever is being displayed on your screen.
How do I take a screenshot on a Chromebook without a Windows key?
Capturing a screenshot on a Chromebook without having to use the Windows key is straightforward, just press both Power and Volume Down buttons together. If you’re utilizing an external keyboard, then CTRL + F. Overview should do the trick in taking an image of your whole screen.
How do I capture a screenshot?
For capturing a screenshot on Windows 10, the Print Screen button (PrtSc) found typically in an upper-right keyboard area can be used. The PrtScreen key copies an image of your entire screen to your clipboard. To paste it into any document just press Ctrl + V and you’ll have saved the capture!
How do you take a picture on a Chromebook?
To take a photo with a Chromebook, open the Camera app and select either Photo, Video or Scan mode. After selecting an option, follow the instructions that appear onscreen to complete your picture-taking process.
How do I take a full-screen screenshot on a Chromebook?
To take a full screen screenshot on a Chromebook, the user can simply press Ctrl + F. Show Windows or opt for Screen Capture in Quick Settings. This allows them to capture their entire screen as an image quickly and easily.