Ultimate Guide: How to Wire a Light Switch Safely & Efficiently
For homeowners or DIYers curious about wiring a light switch, this blog post provides an extensive guide to the process. We’ll go over how to wire a light switch from basics up through safety precautions and troubleshooting common issues related to the task of switch wiring. Make sure you gain insight into all aspects in order for your setup not only to be safe, but also efficient!
Key Takeaways
- Understand the basics of light switch wiring, including power distribution and wire types.
- Adhere to safety protocols when replacing or adding a light switch.
- Regularly inspect connections for loose wires. Contact a licensed electrician for complicated tasks.
Understanding Light Switch Wiring Basics
Knowing the fundamentals of light switch wiring is imperative for achieving success. This includes understanding power distribution, types of wire and different kinds of switches. All leading to a reliable electrical system without any potential hazards in your home environment. Becoming familiar with these topics ensures safe and efficient functioning whenever you use your light switches.
Power Distribution in Residential Settings
Power distribution, which carries electricity throughout the home, is a must in order to keep any electrical system secure and running efficiently. The two predominant wiring techniques for light switches are power-through or end-line methods. Where the former involves an interruption of current flow from switch to lamp whereas the latter only has one cable entering it directly from fixture box.
Having knowledge of how energy gets distributed around your residence via service panel (also known as electrical panel) is key when tackling projects related to light switch wiring so that safety regulations and electric codes can be followed accurately. Understanding this difference between each kind of circuit method allows individuals to identify which procedure best applies depending on their own specific case regarding lighting switching setup works.
Types of Wires Used in Light Switch Wiring
When dealing with light switch wiring, you’ll come across three main types of wires: hot wires (normally black), neutral/white wires and ground/bare wire. Hot or black electrical current carries power from the source to the switch then on to a light fixture or another device. White cords provide an avenue for this energy back to its starting point, maintaining safety levels in operation while greenish-yellow cables allow electricity returns safely without any shocks being felt. Knowing these different color coded connections is very important as proper adherence can stop any potential accidents whilst ensuring your system functions correctly!
Single-Pole vs. Three-Way Switches
When engaging in a light switch wiring project, it’s crucial to understand the differences between single pole and three-way switches. Single pole switches control lighting from one point, requiring only standard 14:2 cable for setup. In contrast, 3 way switches require both 14:2 and 14:3 cables as they allow operation of lights from two separate points with travel wires connecting them. It is therefore important to be aware of these distinct types before initiating any work involving electrical wiring tasks on such fixtures or appliances like a light fixture.
Safety Precautions for Wiring a Light Switch
When tackling a light switch wiring project, taking the necessary safety precautions is essential. This means disconnecting from the power source and using appropriate tools as well as protective clothing to guarantee success while safeguarding against potential dangers.
Disconnecting Power Source
The first and most important part of any light switch wiring task is to shut off the electricity. Here’s how it’s done: Step one is finding which circuit breaker serves that particular switch. When you locate this, move on to shutting down the relevant breaker in order to disconnect power supply from your project entirely. To make sure no current remains connected, use a voltage tester or multimeter for verification. If readings show no electrical activity at all, then the process was successful!
This crucial step ensures everyone involved stays safe during their work with wires and switches related projects, so always remember this whenever working around lights or similar tools involving electrical currents!
Proper Tools and Protective Gear
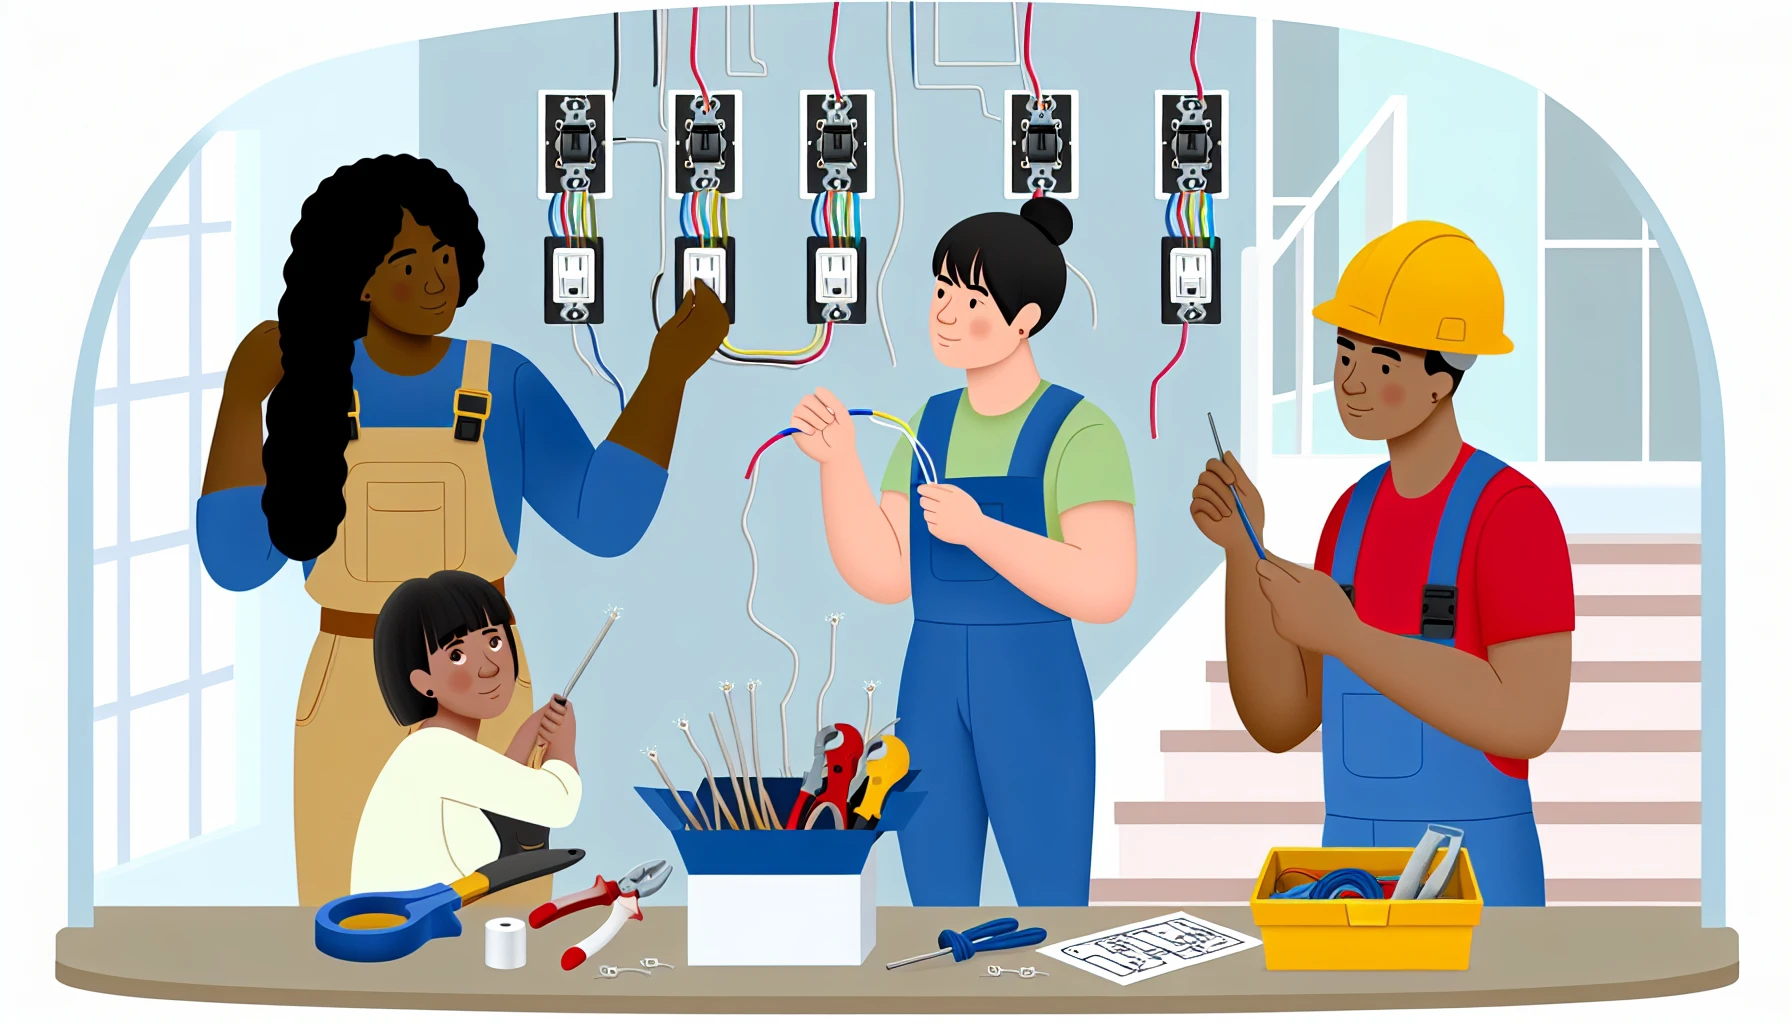
Having the right tools and protective gear is essential when you wire a light switch in order to maintain efficiency while keeping safety top of mind. Essential items include pliers with insulated handles, needle nose pliers for accurate cutting and twisting of wires, sharp wire cutters plus black electrical tape that can be used to secure hot wiring connections – all helping reduce potential risks such as fraud or abuse within the industry. Safety glasses are also necessary. They should be constructed from lightweight but robust materials like polycarbonate so your eyes stay safe during installation processes.
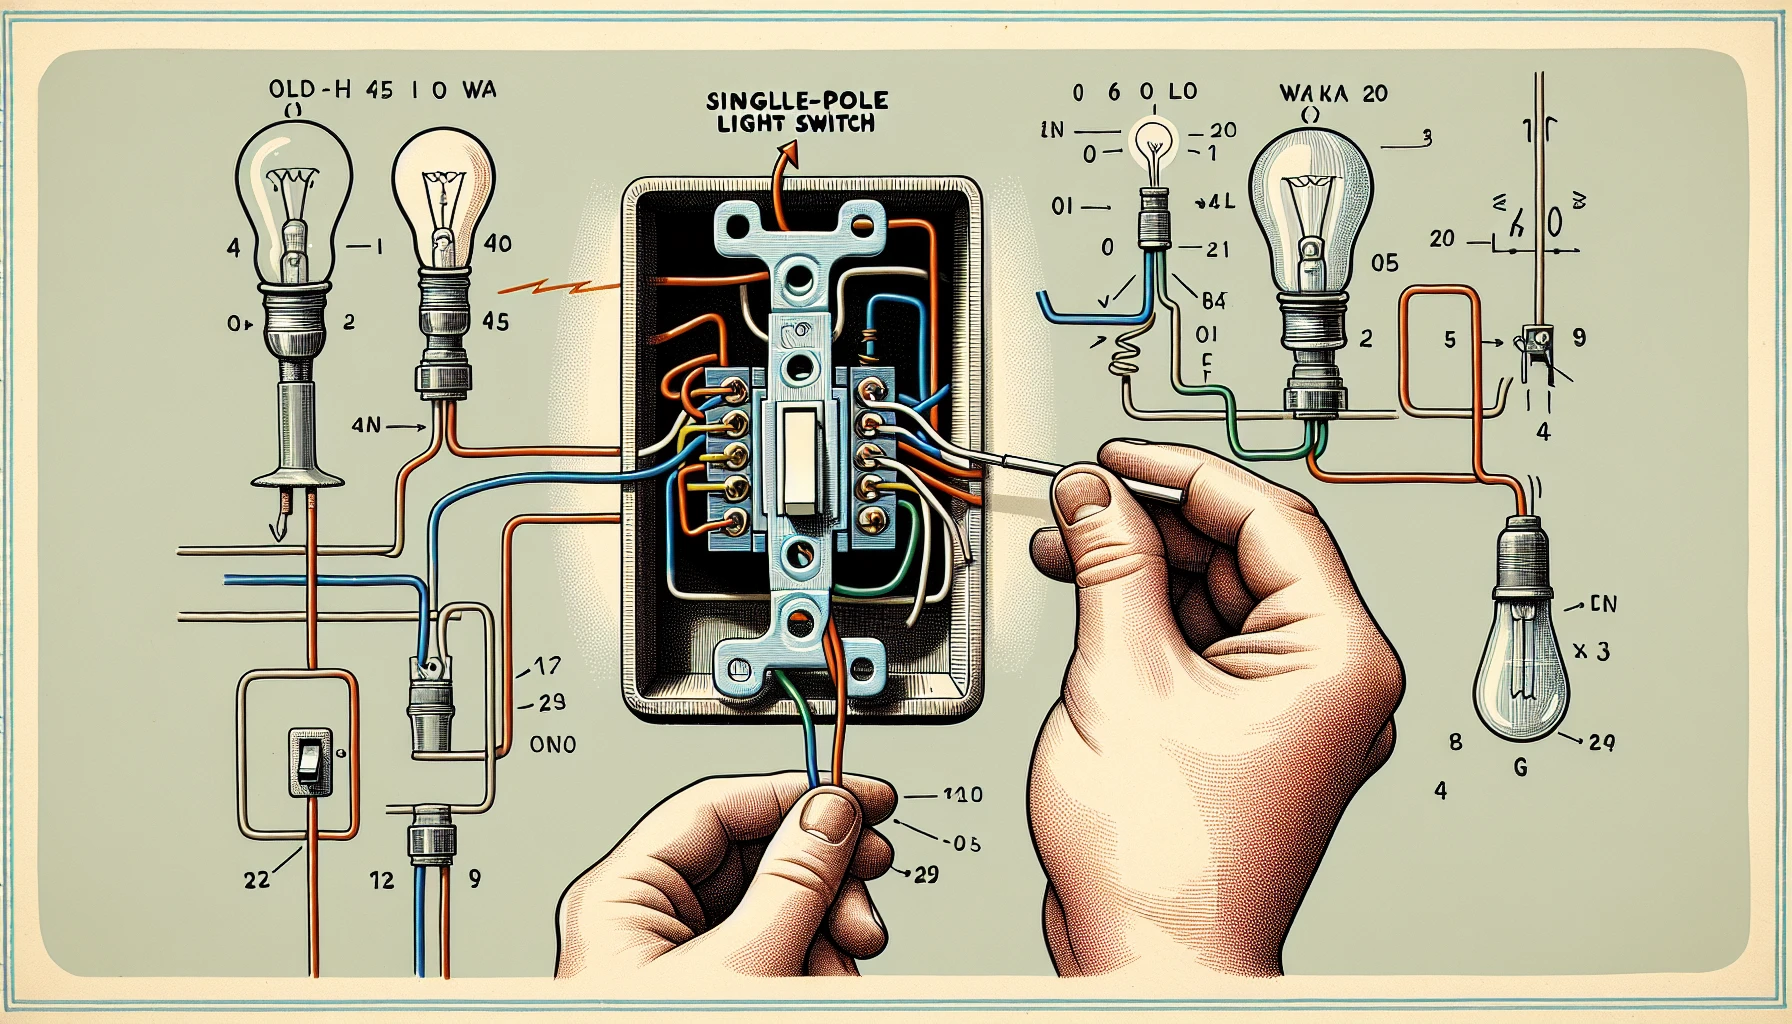
Wiring a Single-Pole Light Switch: Step-by-Step Guide
After understanding the fundamentals and making sure all safety protocols are in place, we can begin to wire a single pole light switch. We’ll provide step-by-step instructions from taking out the old one up until testing its newly installed version.
Removing the Old Switch
Start by disconnecting the power to that circuit and taking away the switch plate. Using a screwdriver, press on the slot of this existing switch in order to get rid of its wires, with care not damaging them. This will allow us to now install your new device securely into place within its electrical box after unscrewing it from there previously. To ensure safe wiring practices while preserving all facts are kept intact during installation. No piece of information should be disregarded or misplaced throughout such process accordingly.
Identifying and Connecting Wires
With the old switch taken out, it’s time to see what wires need connecting to your brand new single-pole light switch. Connect the black wire from its source and another going towards a bulb using terminal screws of brass on one side of this device. Make sure any other wires like pigtails or switched hot ones are fastened by twisting them into wire nuts as firmly as possible so that all attachments stay in place for next steps. Check every bond once more before you continue with anything else.
Testing the New Switch
To ensure proper installation of the light switch, first attach all necessary wires. Once complete, mount the device and replace the cover plate before turning on the breaker. Make sure to test that everything is functional by operating it with your hand - if not successful proceed to check for any loose connections in each wire’s terminal position. If this does not resolve the issue, then a licensed electrician should be sought out for assistance.
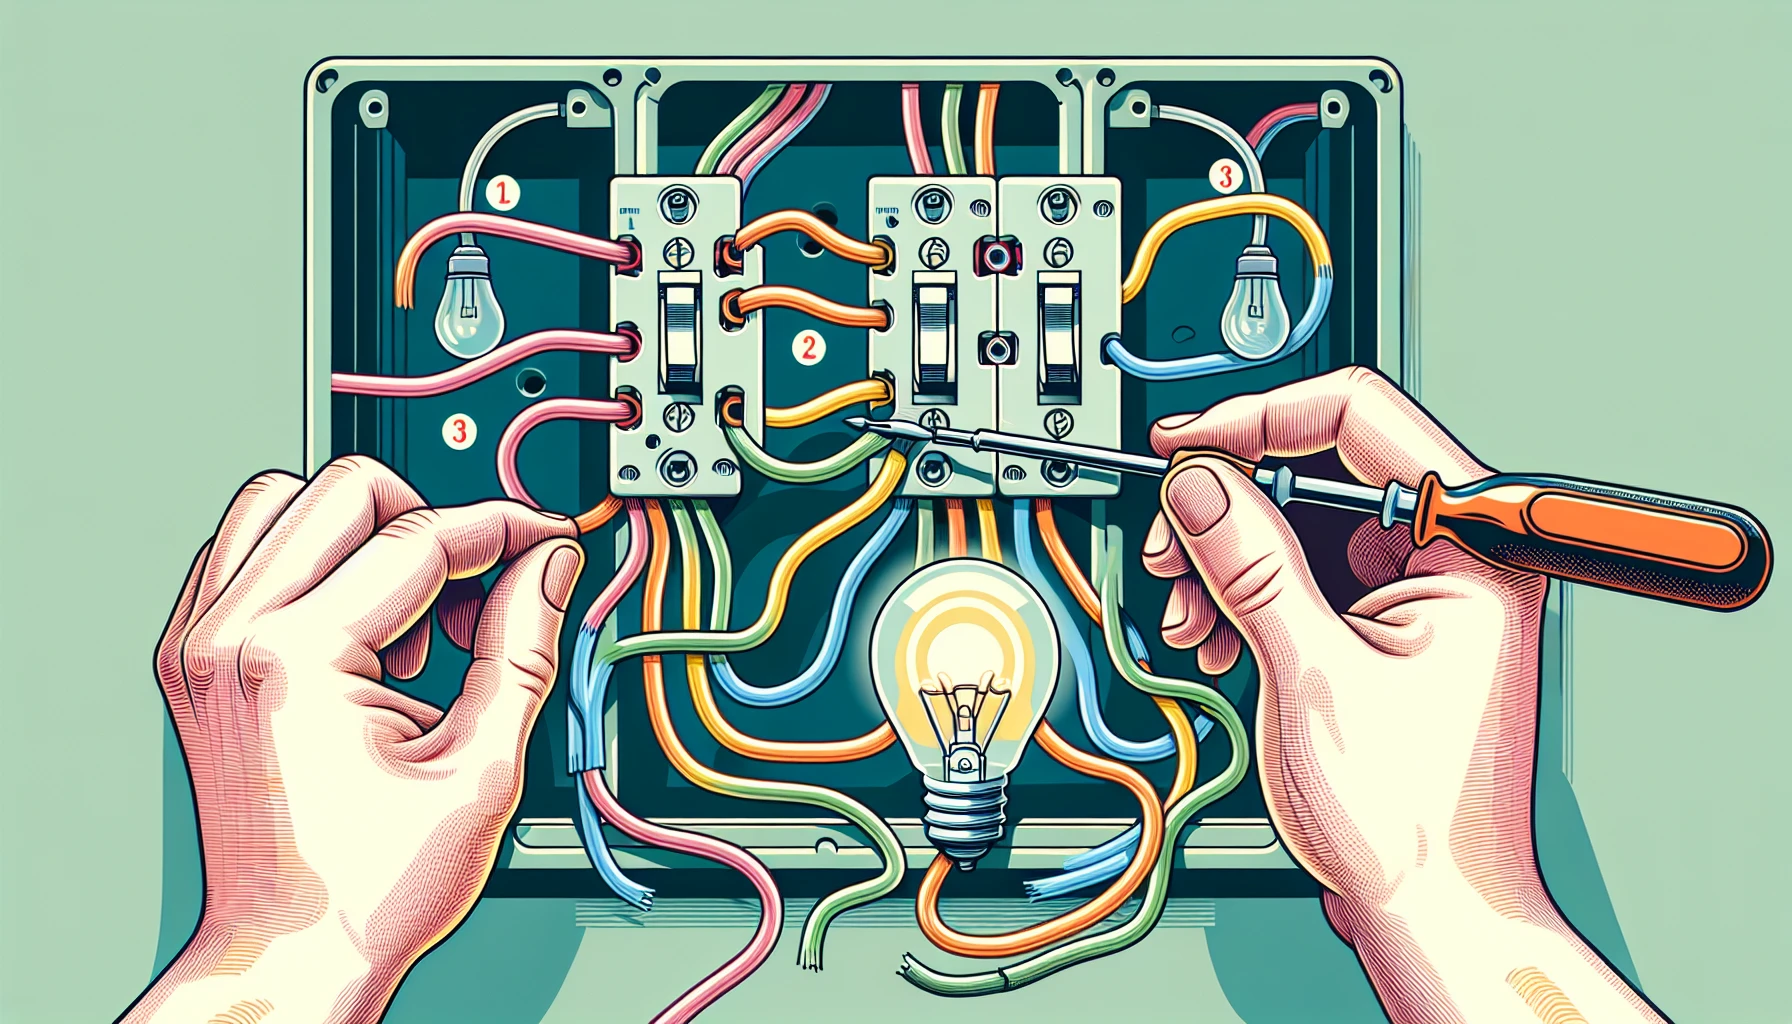
Wiring a Three-Way Light Switch: Step-by-Step Guide
For a seemingly complex task, wiring up a three-way light switch is surprisingly manageable with the right instructions. This article will provide all the necessary steps to take: from recognizing wires in both boxes of switches and linking them to their new counterparts before verifying that everything works properly.
Identifying Wires in Both Switch Boxes
In order to install a three-way light switch successfully, it is important to first turn off the power supply and identify all of the wires in both switches. The standard box typically includes two white neutral wiring, three ground wire connections, one red traveler wire as well as black common and travel companions. Labelling each correctly is critical for a successful installation process.
Connecting Wires to New Three-Way Switches
Securely connect the wall’s ground wire to the green screw on your new switch, then following either wiring diagram instructions or provided directions attach all other wires accordingly. Make sure all connections are secure before installing it into the wall - that concludes connecting up a three-way switch!
Testing the New Three-Way Switches
Once the circuit breaker is reset and power restored, test the new switches to ensure correct operation and wiring connections. If they are not functioning as desired, double-check all connection points. If necessary, it might be worthwhile consulting a licensed electrician for assistance.
Troubleshooting Common Light Switch Wiring Issues
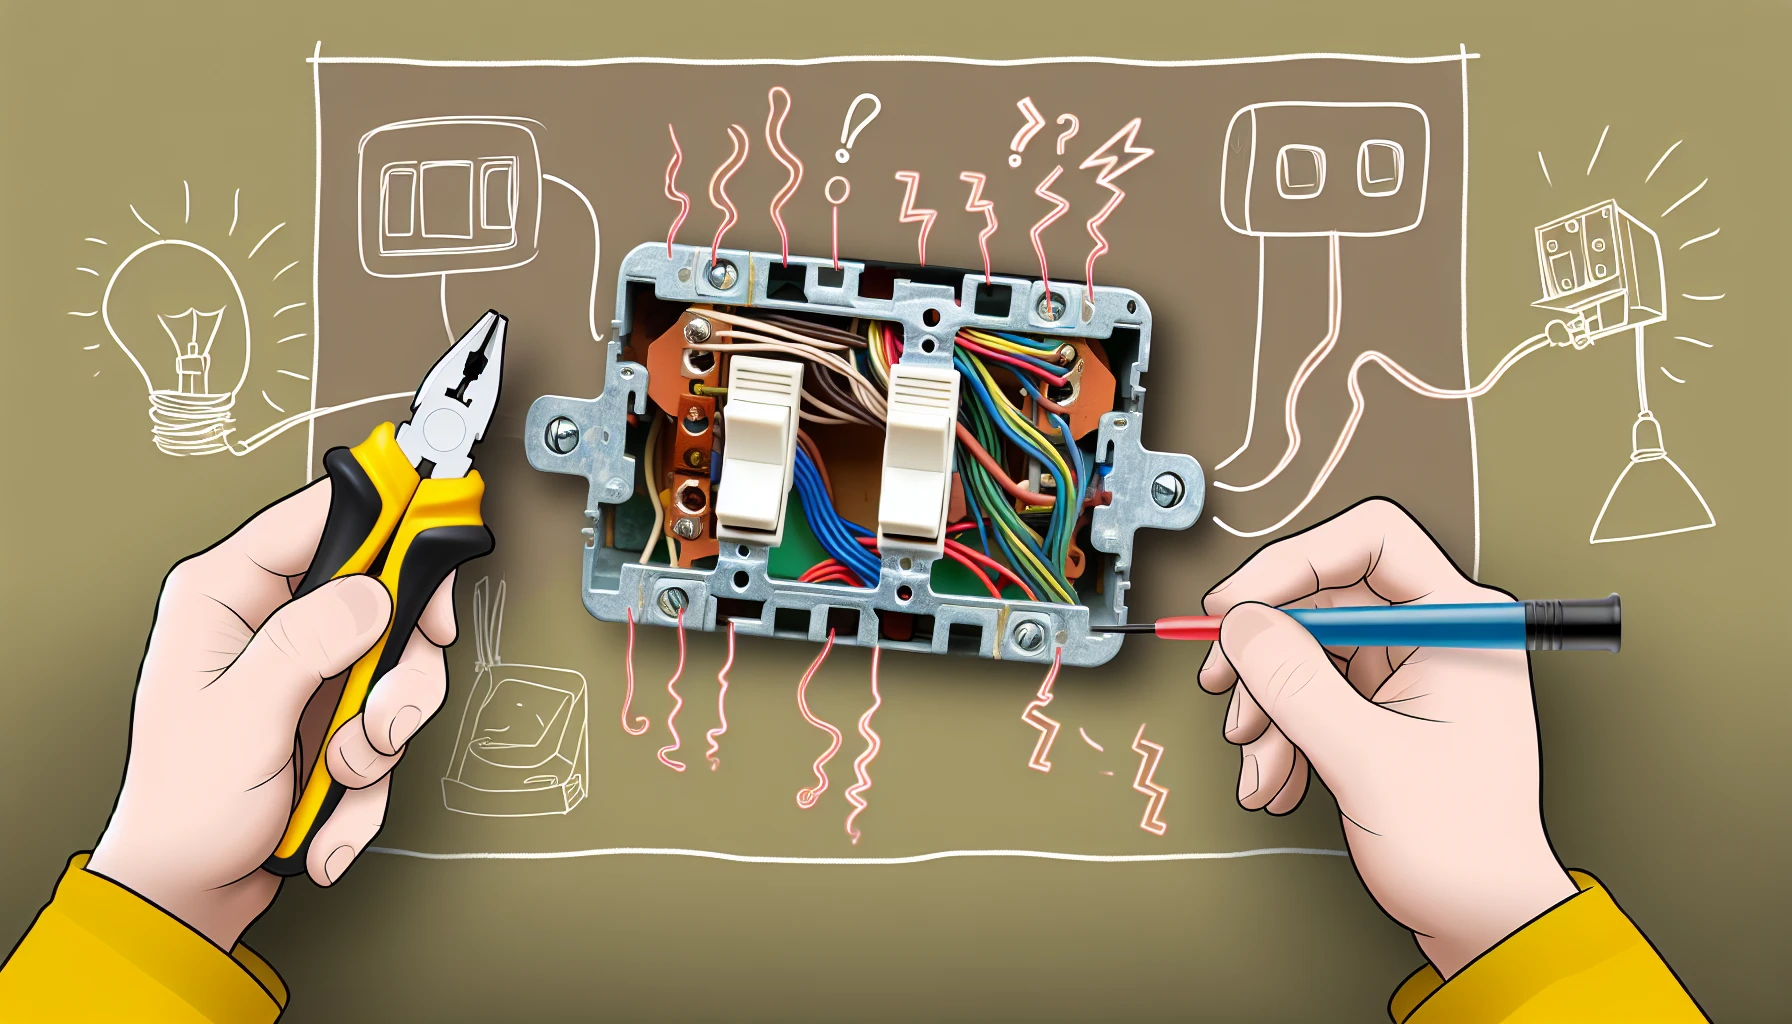
Though you might have done thorough preparation, light switch wiring issues can still occur. In this section we will look at common problems with wires like flicking lights, malfunctioning switches and loose connections, providing tips on how to fix them.
Flickering Lights
Flickering lights can be caused by a variety of factors, such as an unsteady connection between the light switch and bulb, outdated or malfunctioning wall switches, and low-quality bulbs that are loose in their fixtures. Dysfunctional fixture buttons/switches. Unscrewed plug sockets for illumination sources. In order to solve this problem, it is recommended to replace old switches with new ones, assure proper fitting on all bulbs used along with closely inspecting connections within each switch itself.
Non-Functional Switches
If the light switch is not working, potential causes could be loose connections in the wiring, a defective mechanism or hot/buzzing button, a faulty circuit cable and even an incorrect switch. Inspect it to check for visible faults before attempting any solutions such as tightening wire connectors if they are wobbly. If this does not solve your issue, contact a licensed electrician who can replace it with another one accordingly.
Loose Connections
To ensure safety and avoid risks such as electric shocks or fires, one should inspect the light switch wiring to check for any loose connections. To do this, turn off the power supply before starting by using a multimeter in order to measure electrical connection quality. If needed, then tighten all of them securely. If there are still issues present, it may be time to contact an authorized electrician for help with Investigation into the problem.
When to Call a Licensed Electrician
When it comes to wiring up light switches, depending on the context of your project DIY enthusiasts may be able to handle certain tasks. On the other hand, some scenarios require enlisting a licensed electrician in order for everything to go according to plan and ensure that all regulations are met. This applies specifically when dealing with aluminum wiring or introducing new switches into existing circuitry.
Aluminum Wiring
If your home has aluminum wiring, it is vital to find a licensed electrician that specializes in this type of installation. As aluminum wires may have higher resistance and be more fragile than copper ones, the qualified professional will ensure proper connections are made while avoiding corrosion or oxidation risks. In order to maintain safety measures correctly, reaching out for expert assistance is key when dealing with such components.
Adding New Switches
When expanding your light switch wiring setup with additional switches, it is recommended to consult a qualified electrician in order to safeguard the warranty of any new components and ensure compliance with current standards. Without proper expertise in electrical wiring and knowledge of the circuit’s capacity, connecting extra switches can be hazardous.
Summary
This blog post provides key information on the basics of light switch wiring - from power distribution and different wire types to single-pole versus three-way switches. We also highlighted how important safety is, along with providing step by step instructions for wiring both kinds of switches. We covered common issues one may face in this project and when it’s best to call a licensed electrician. All these insights enable you feel more confident tackling your own light switch projects!
Frequently Asked Questions
What wires go where on a light switch?
The light switch requires three wires, a hot wire (black or red) which attaches to the brass screw. The neutral white wire connected with its silver screw and green ground - wired into either the switch’s own green screw or an electrical box. The service panel’s white cord should be taped black to denote that it is now functioning as a hot wire instead of its natural state.
What are the 3 wires to a light switch?
The light switch has three wires—a hot wire (black), neutral wire (white) and a groundwire (copper)—which are usually attached to the device using brass screws. The black one is known as the ‘hot’ or live cable, while white represents neutrality and copper stands for grounding purposes.
Does it matter which wire goes on a switch?
The terminals on a switch are not specified for any particular wire, as long as there is only one connected to each terminal. It doesn’t make a difference which wire goes where. The interchangeability of these connections remains unchanged.
What tools and protective gear are recommended for wiring a light switch?
When installing a light switch, safety glasses should be worn along with the use of wire strippers, pliers and a voltage tester for optimum efficiency and protection.
How can I test the functionality of a newly installed single-pole light switch?
Turn the breaker back on and test the light switch to ensure proper functionality and wiring connections.