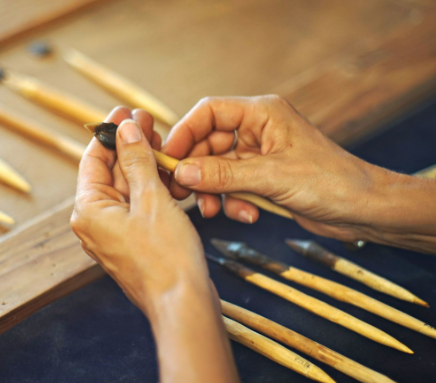
How to Make a Bow

Ah, the bow. An ancient weapon, a tool of sport, and an object of artistry. Ever watched an archery competition or a Robin Hood movie and thought, “I wish I could craft my bow!”? Good news, you’re about to embark on a fascinating DIY journey. Let’s dive right in!
Getting Started
Materials Needed
Before we roll up our sleeves, we need some raw materials. You’ll require the following:
- A piece of wood (ash, yew, or hickory are ideal)
- A sturdy string (Dacron works wonders)
- Sandpaper
- Knife or carving tools
- A ruler or measuring tape
Selecting the Right Type of Wood
Remember the old saying, "You can't make a good soup with bad meat"? The same goes for bows! The wood you select will dictate the bow's performance and longevity. Ash is great for beginners, while yew or hickory will give your bow that premium touch.
Step-by-Step Guide to Crafting a Bow
Measuring and Cutting
Have you got your wood ready? Fantastic! Now, measure a length of about 5-6 feet (for a longbow). Mark the center for the handle and cut out the basic shape.
Shaping the Bow
Tapering
You’ll want the bow's limbs to taper – that is, they should be wider at the center and narrower at the tips. This ensures a smooth transfer of energy when shooting.
Rounding
After tapering, round off the limbs' edges, this prevents unwanted cracks and ensures a smoother finish.
Stringing the Bow
Ah, the final stretch (pun intended)! Could you attach the string to both ends? The bow should have a nice, gentle curve to it now.
Safety Precautions
Handling the Tools
Safety first, right? Always cut away from your body and use tools with care. Remember, this isn’t a race!
Using the Bow
Remember, it's a weapon before you get all Legolas with your newly made bow. Always point in a safe direction and never at people or animals.
Caring for Your Bow
Storing the Bow
Store in a cool, dry place. Humidity can weaken the wood, and excessive heat can damage the bow’s shape.
Cleaning and Maintenance
A simple wipe-down with a dry cloth afterward will go a long way. And occasionally, a dab of oil can keep the wood fresh and vibrant.
Conclusion
Making your bow might seem daunting initially, but it's an immensely satisfying project. Whether you're an aspiring archer or a DIY enthusiast, the joy of crafting and using your handmade bow is unparalleled. Ready to give Robin Hood a run for his money?
FAQs
- What other types of wood can I use?
- While ash, yew, and hickory are widespread, you can also explore woods like osage orange or maple.
- Can I decorate my bow?
- Absolutely! Feel free to paint, varnish, or even carve intricate designs to personalize your bow.
- How often should I replace the bowstring?
- Depending on usage, a bowstring can last 1 to 3 years.
- Is there a way to increase my bow's draw weight?
- Yes! This involves adjusting the taper and thickness of the bow limbs. But remember not to overdo it!
- Can children craft their bows?
- Under supervision, certainly! Crafting a bow can be a great bonding activity. However, safety should always come first.